Accessing Polly Notebooks
Navigate to the Polly Workspaces in which the analysis needs to be performed. The notebooks of this workspace can accessed from the middle panel.
You can access Polly Notebooks in three ways:
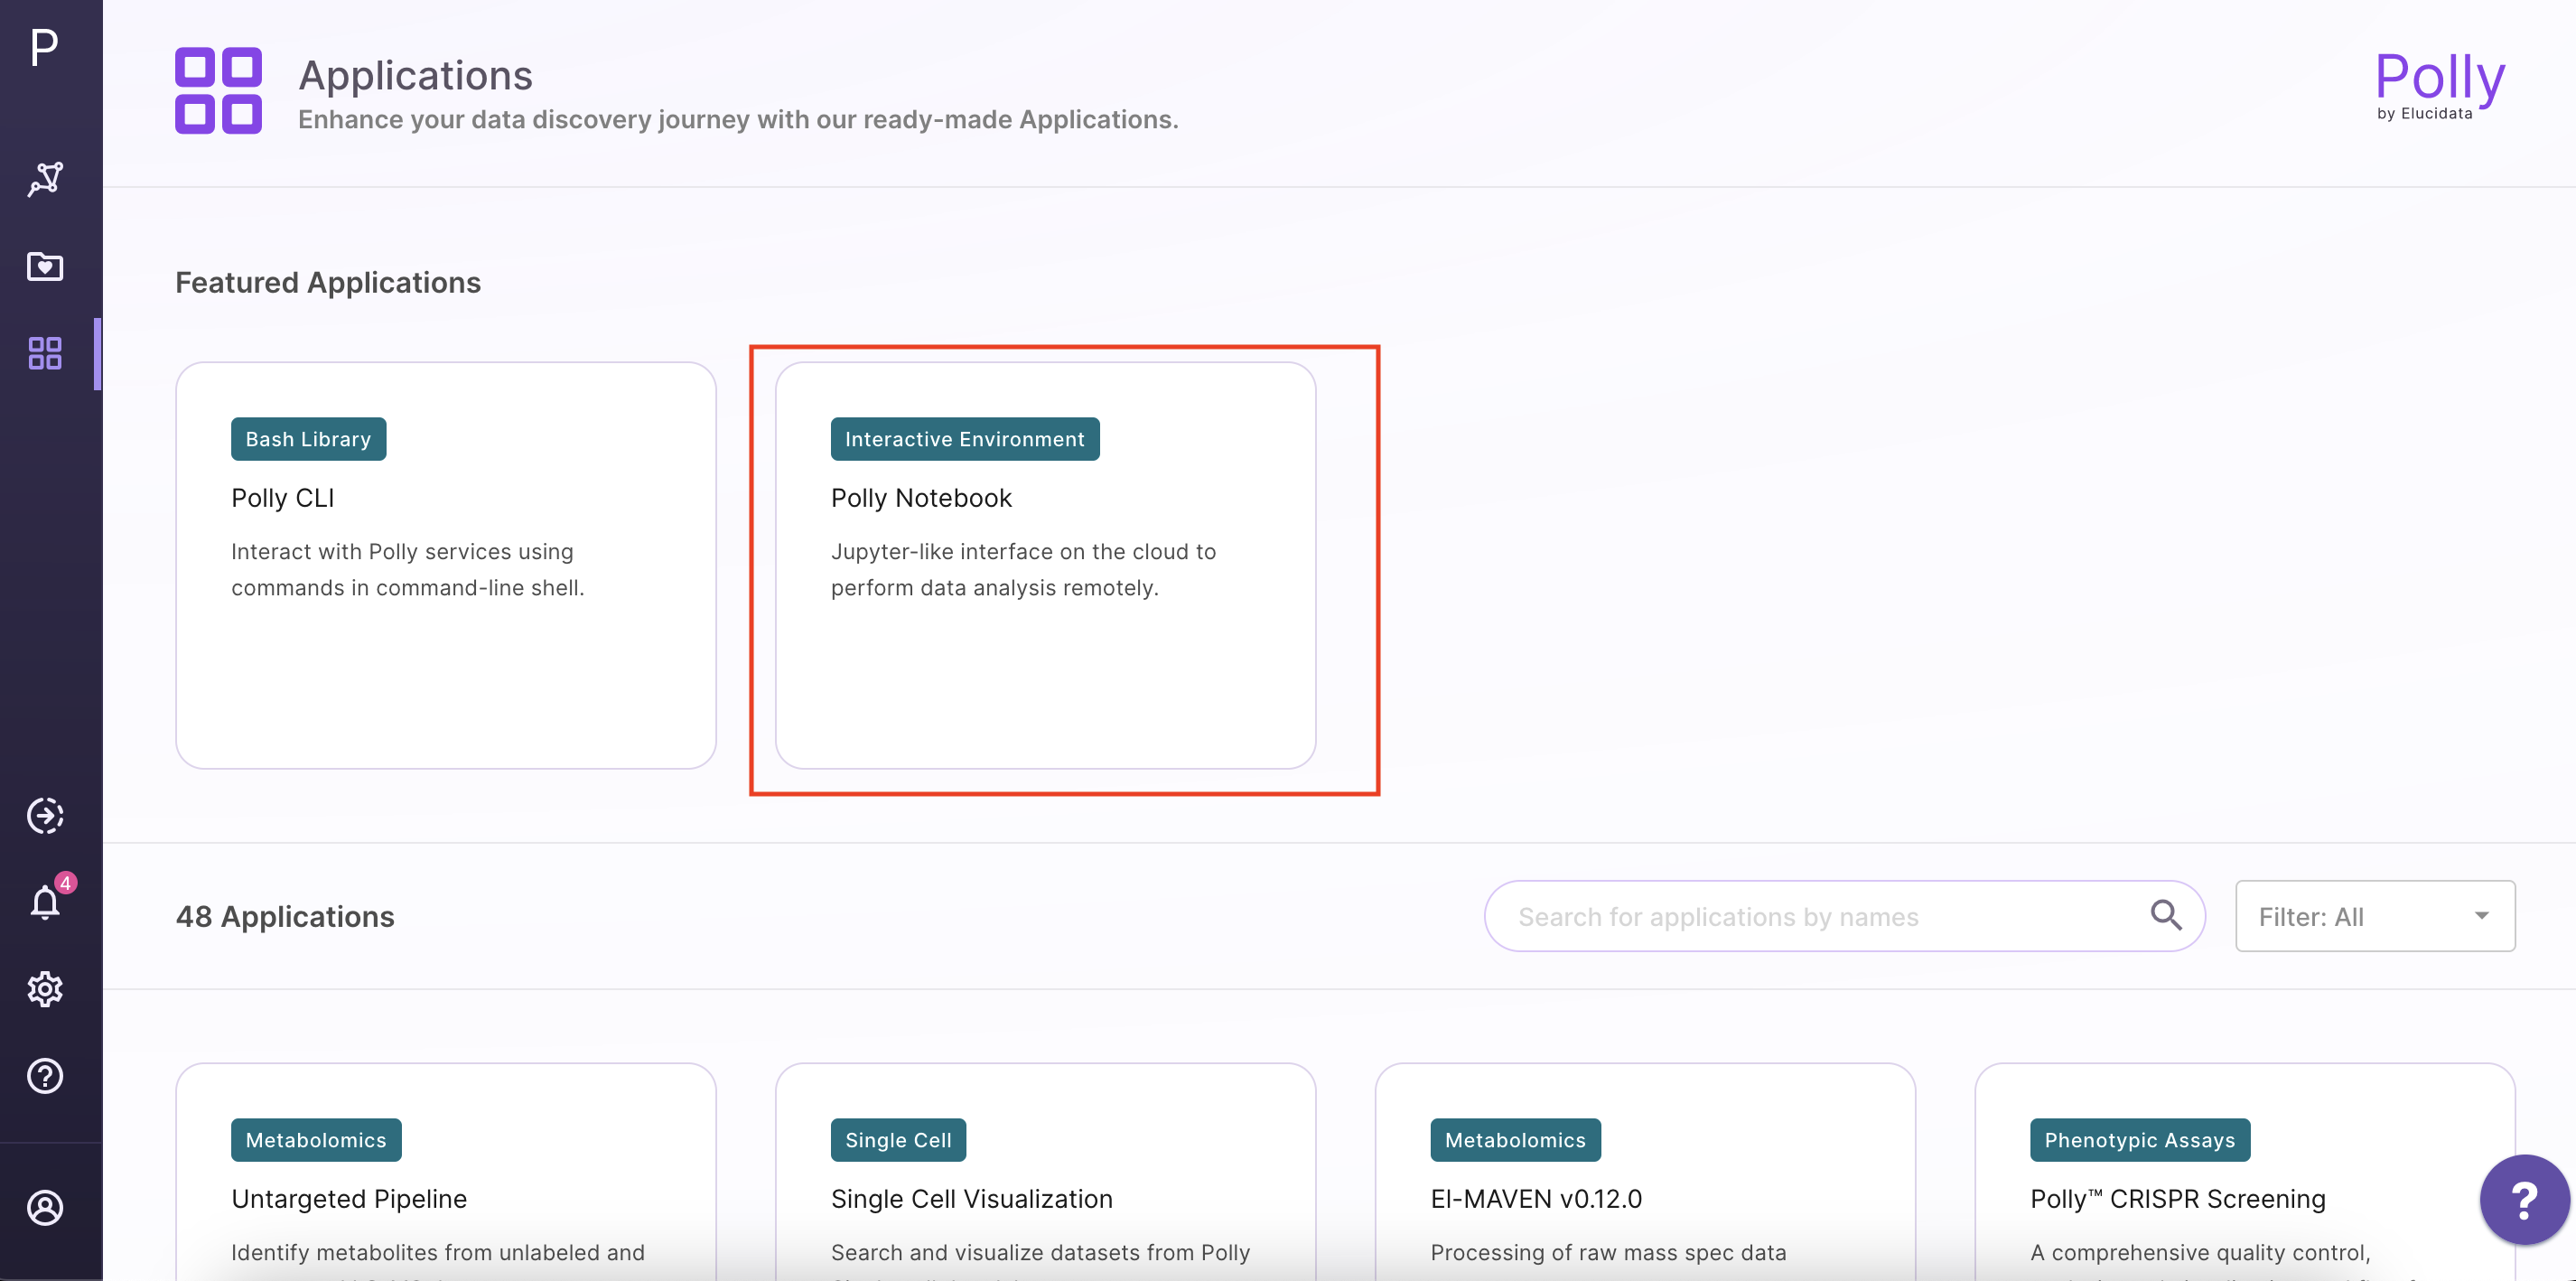
- Create a new notebook: Go to the Applications interface and click on the Polly Notebooks button located on the left side to create a new notebook. You are required to provide a name to the Notebook and select the workspace along with an environment and a machine to run the given notebook.
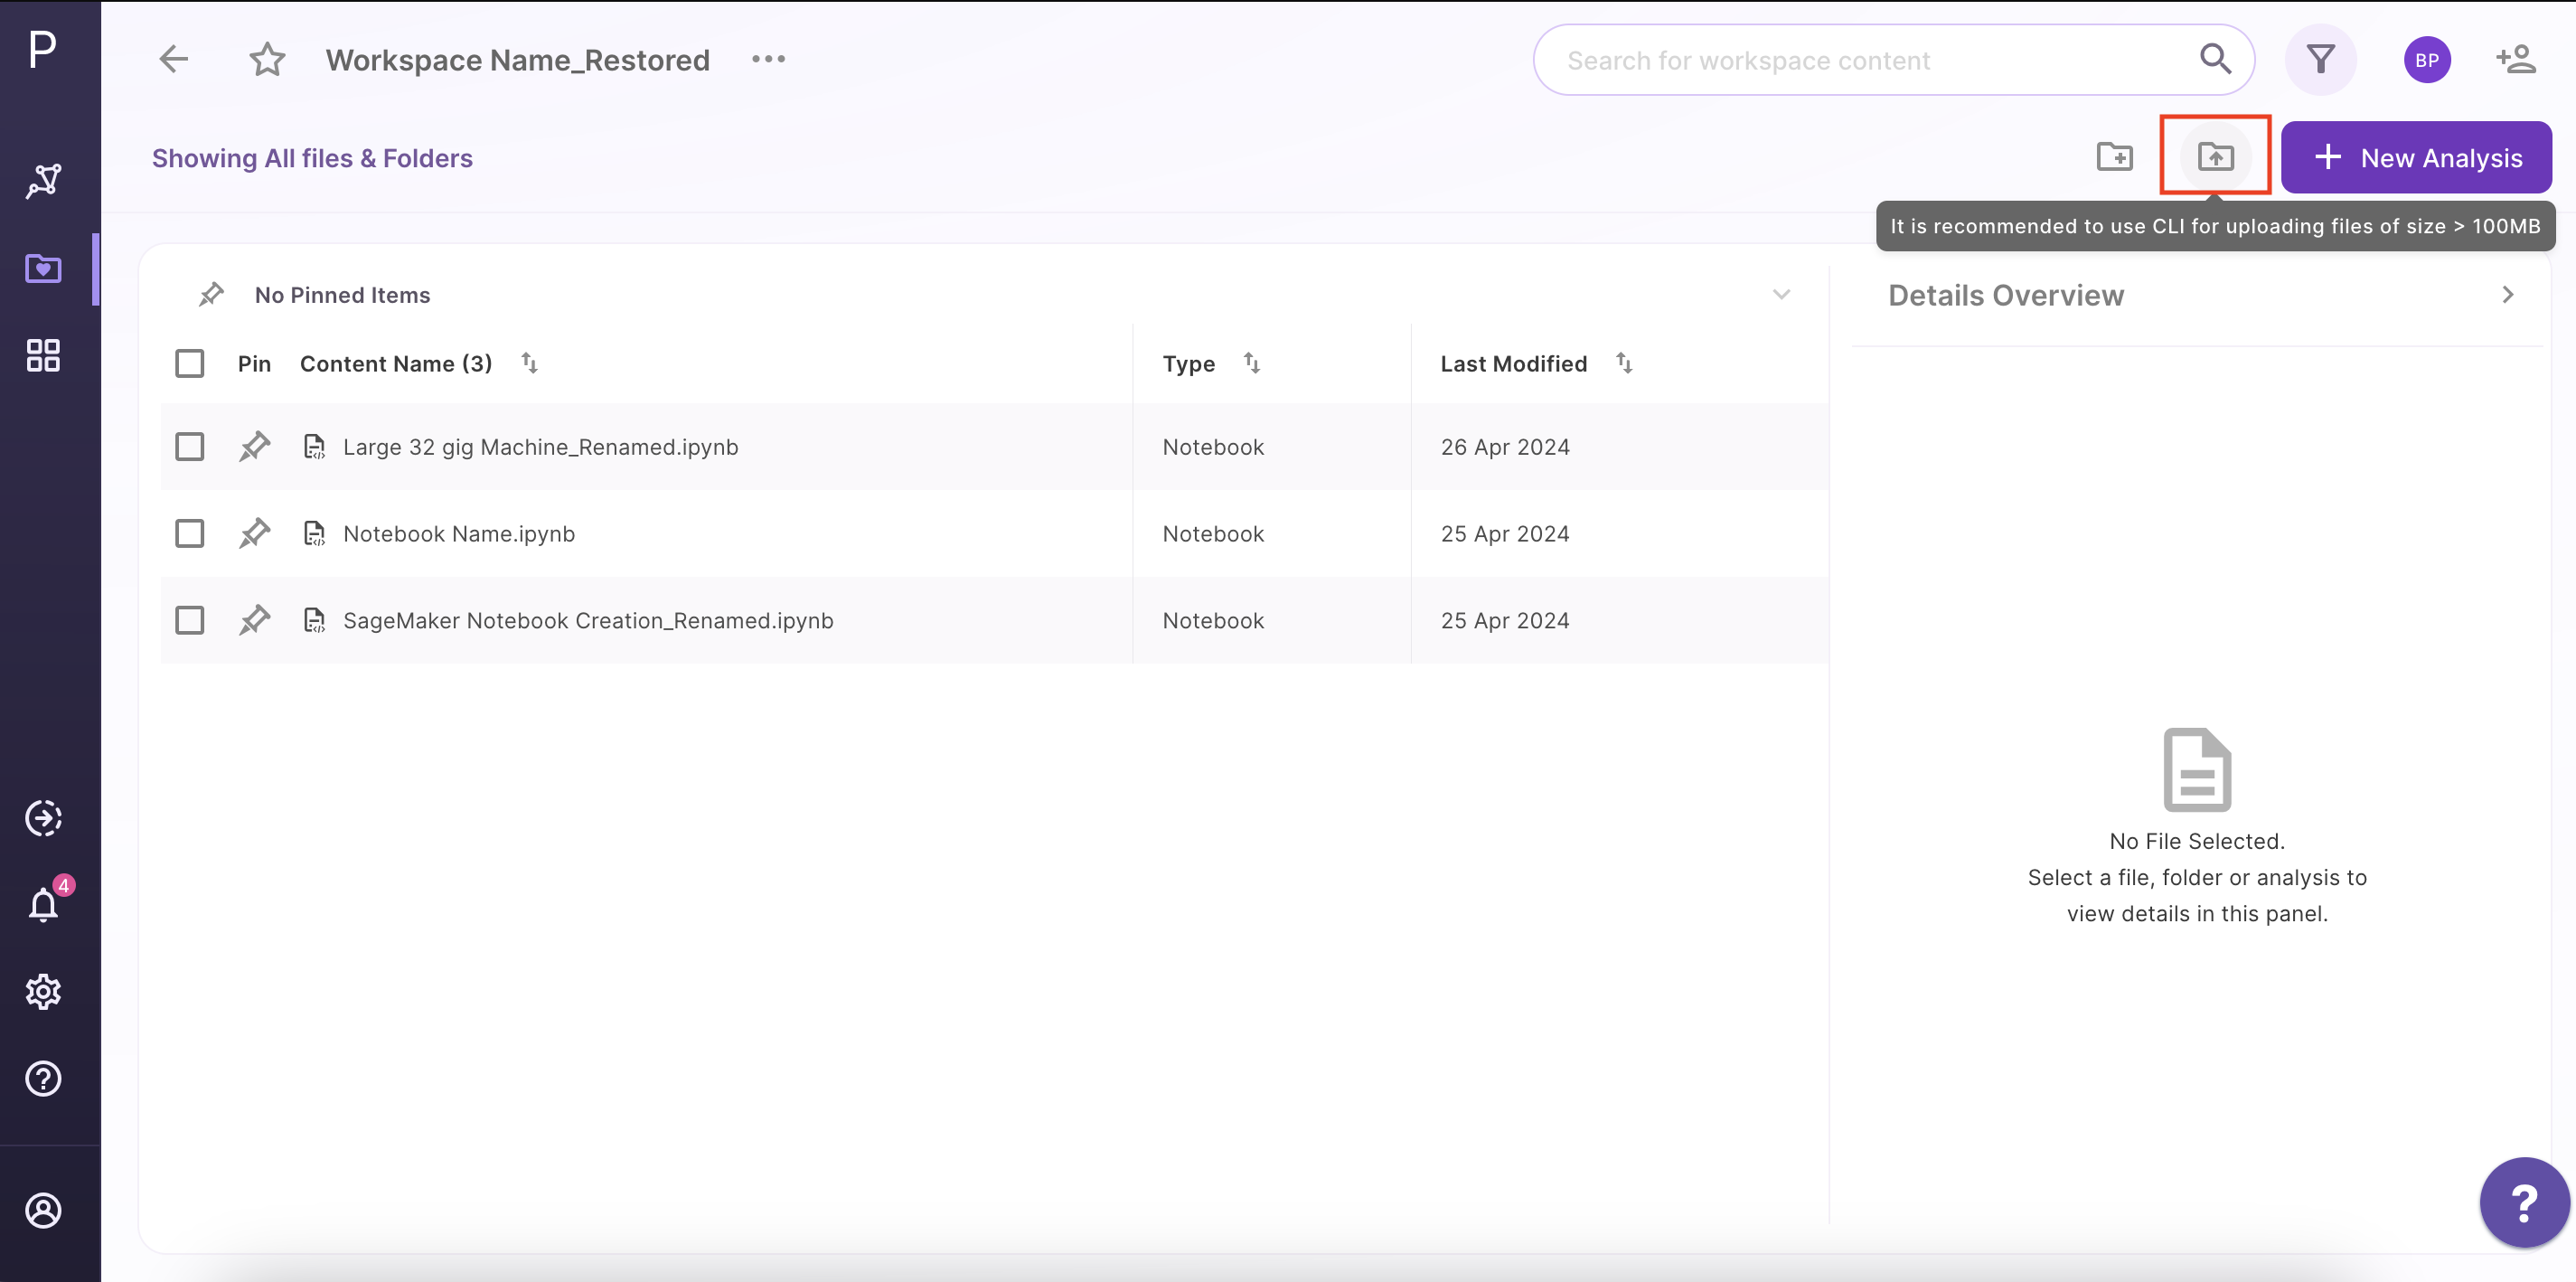
- Upload a notebook: Click on the Upload icon at the top of the panel and select the Upload a Notebook option.
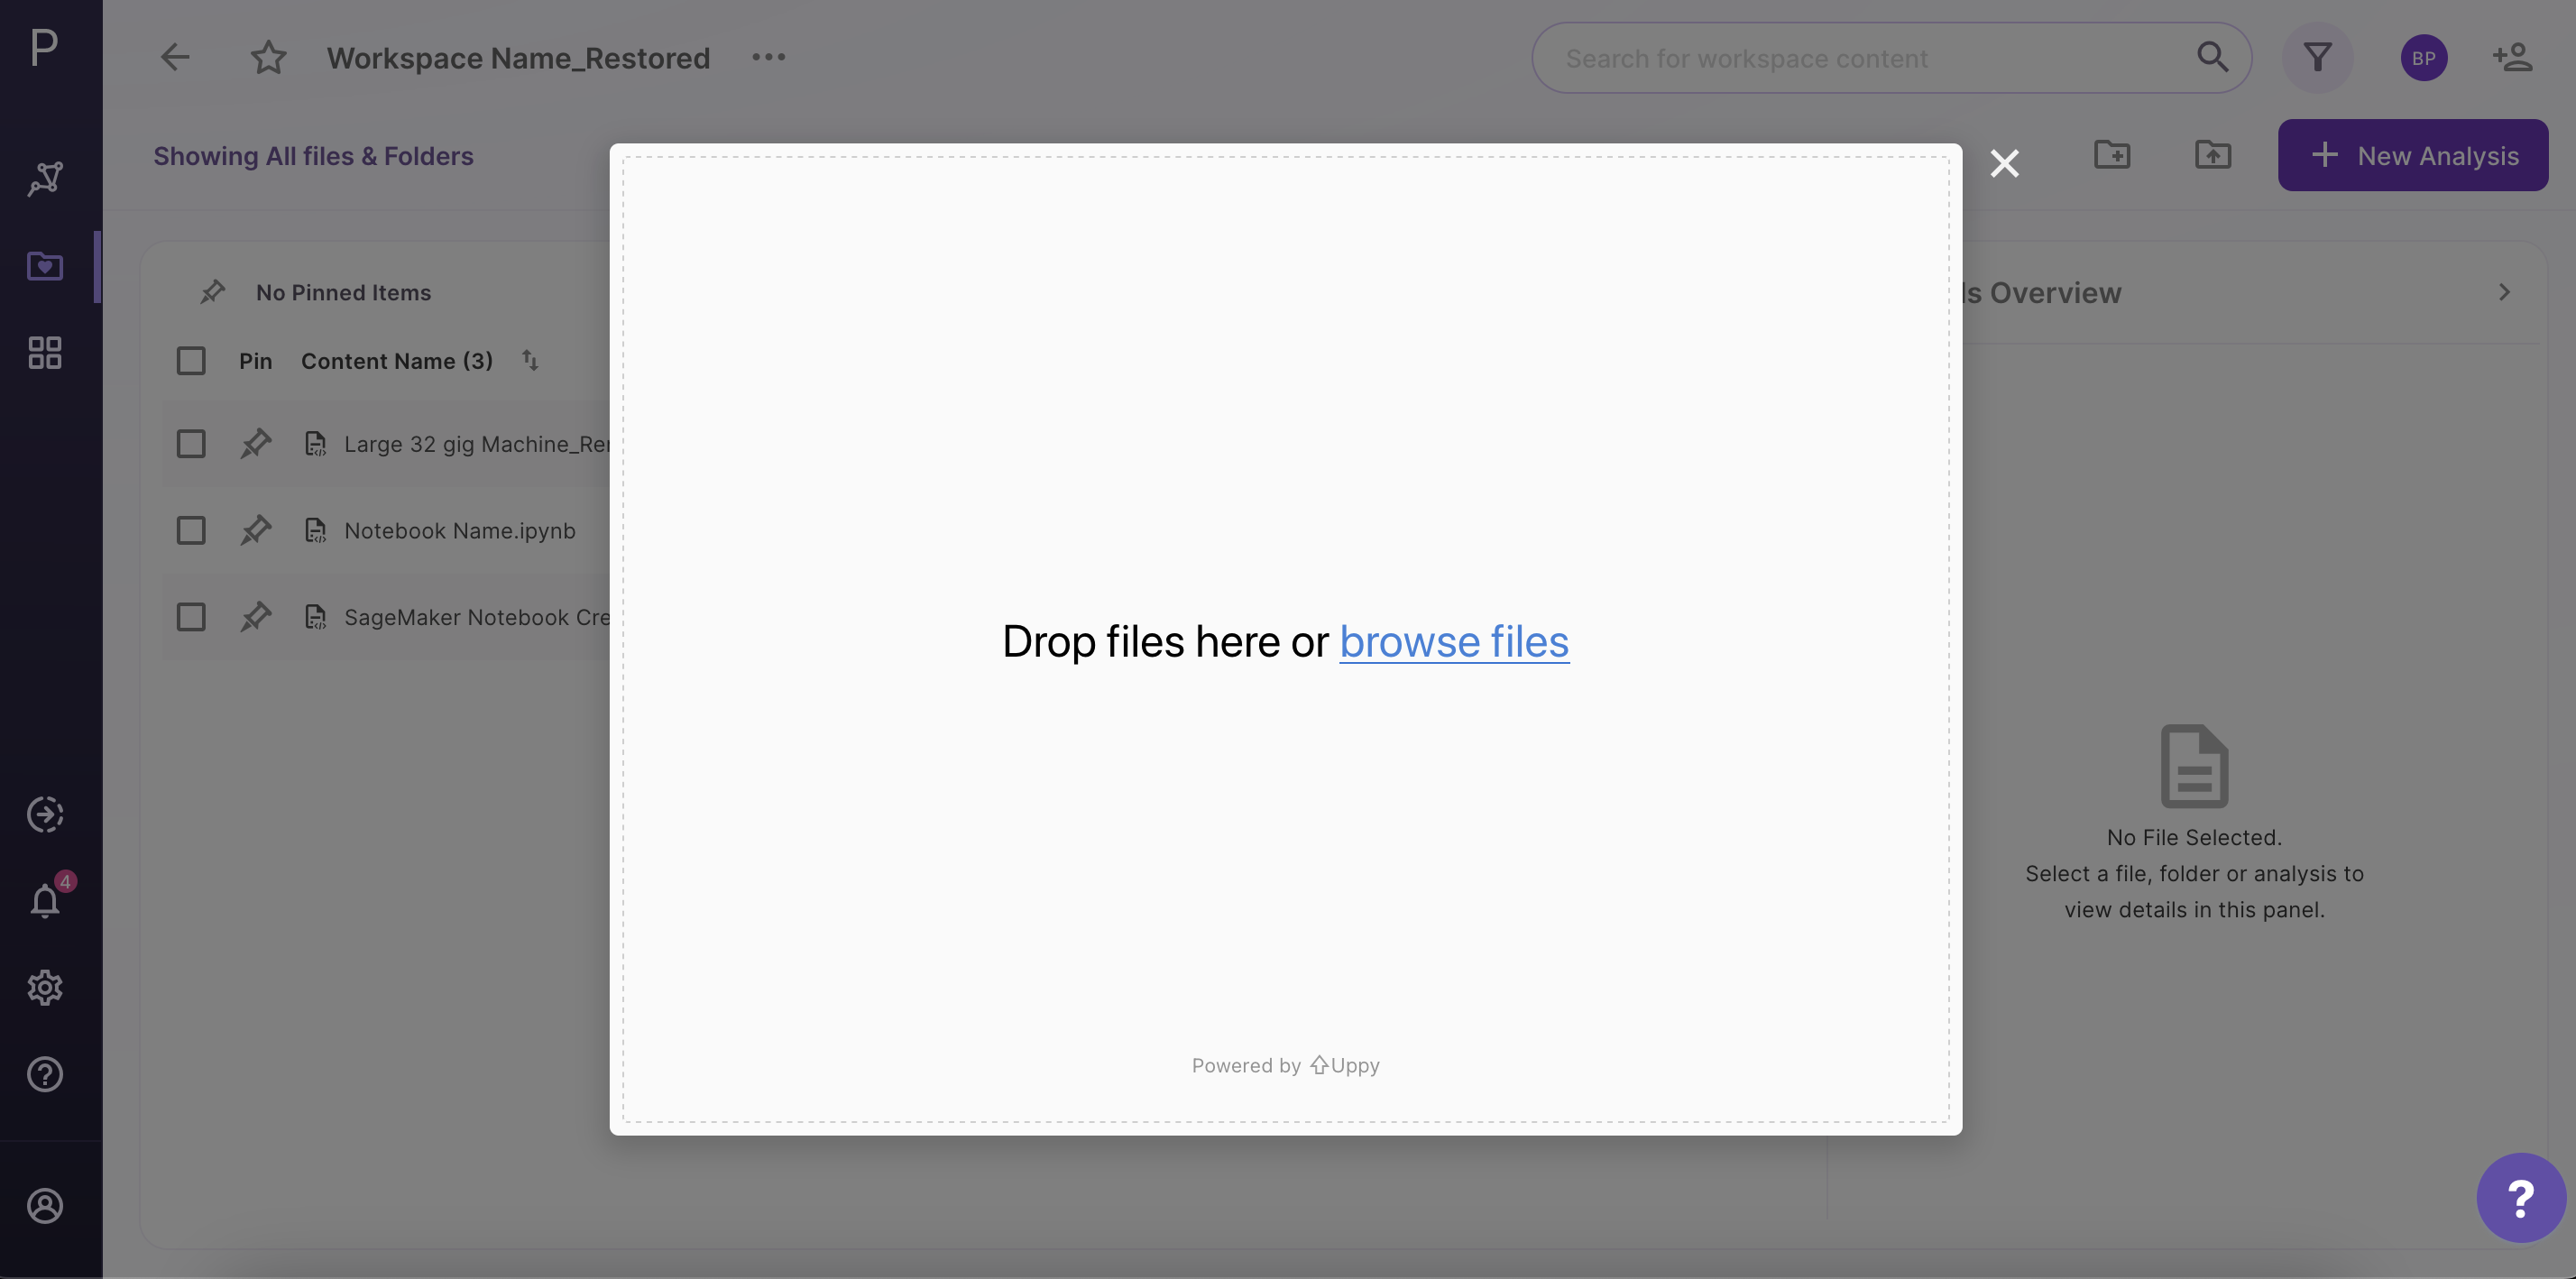
The notebook can be uploaded via browse files option or from the local system. To upload from the local system, files can be dragged and dropped.
- Open an existing notebook: Click on the name of any existing notebook to Edit and Launch it. If you are running the notebook for the first time, the option Edit and Launch would appear as a default selection to launch the selected notebook. You are required to select an environment and a machine to run the given notebook, oly after these selections are done you can launch the notebook.
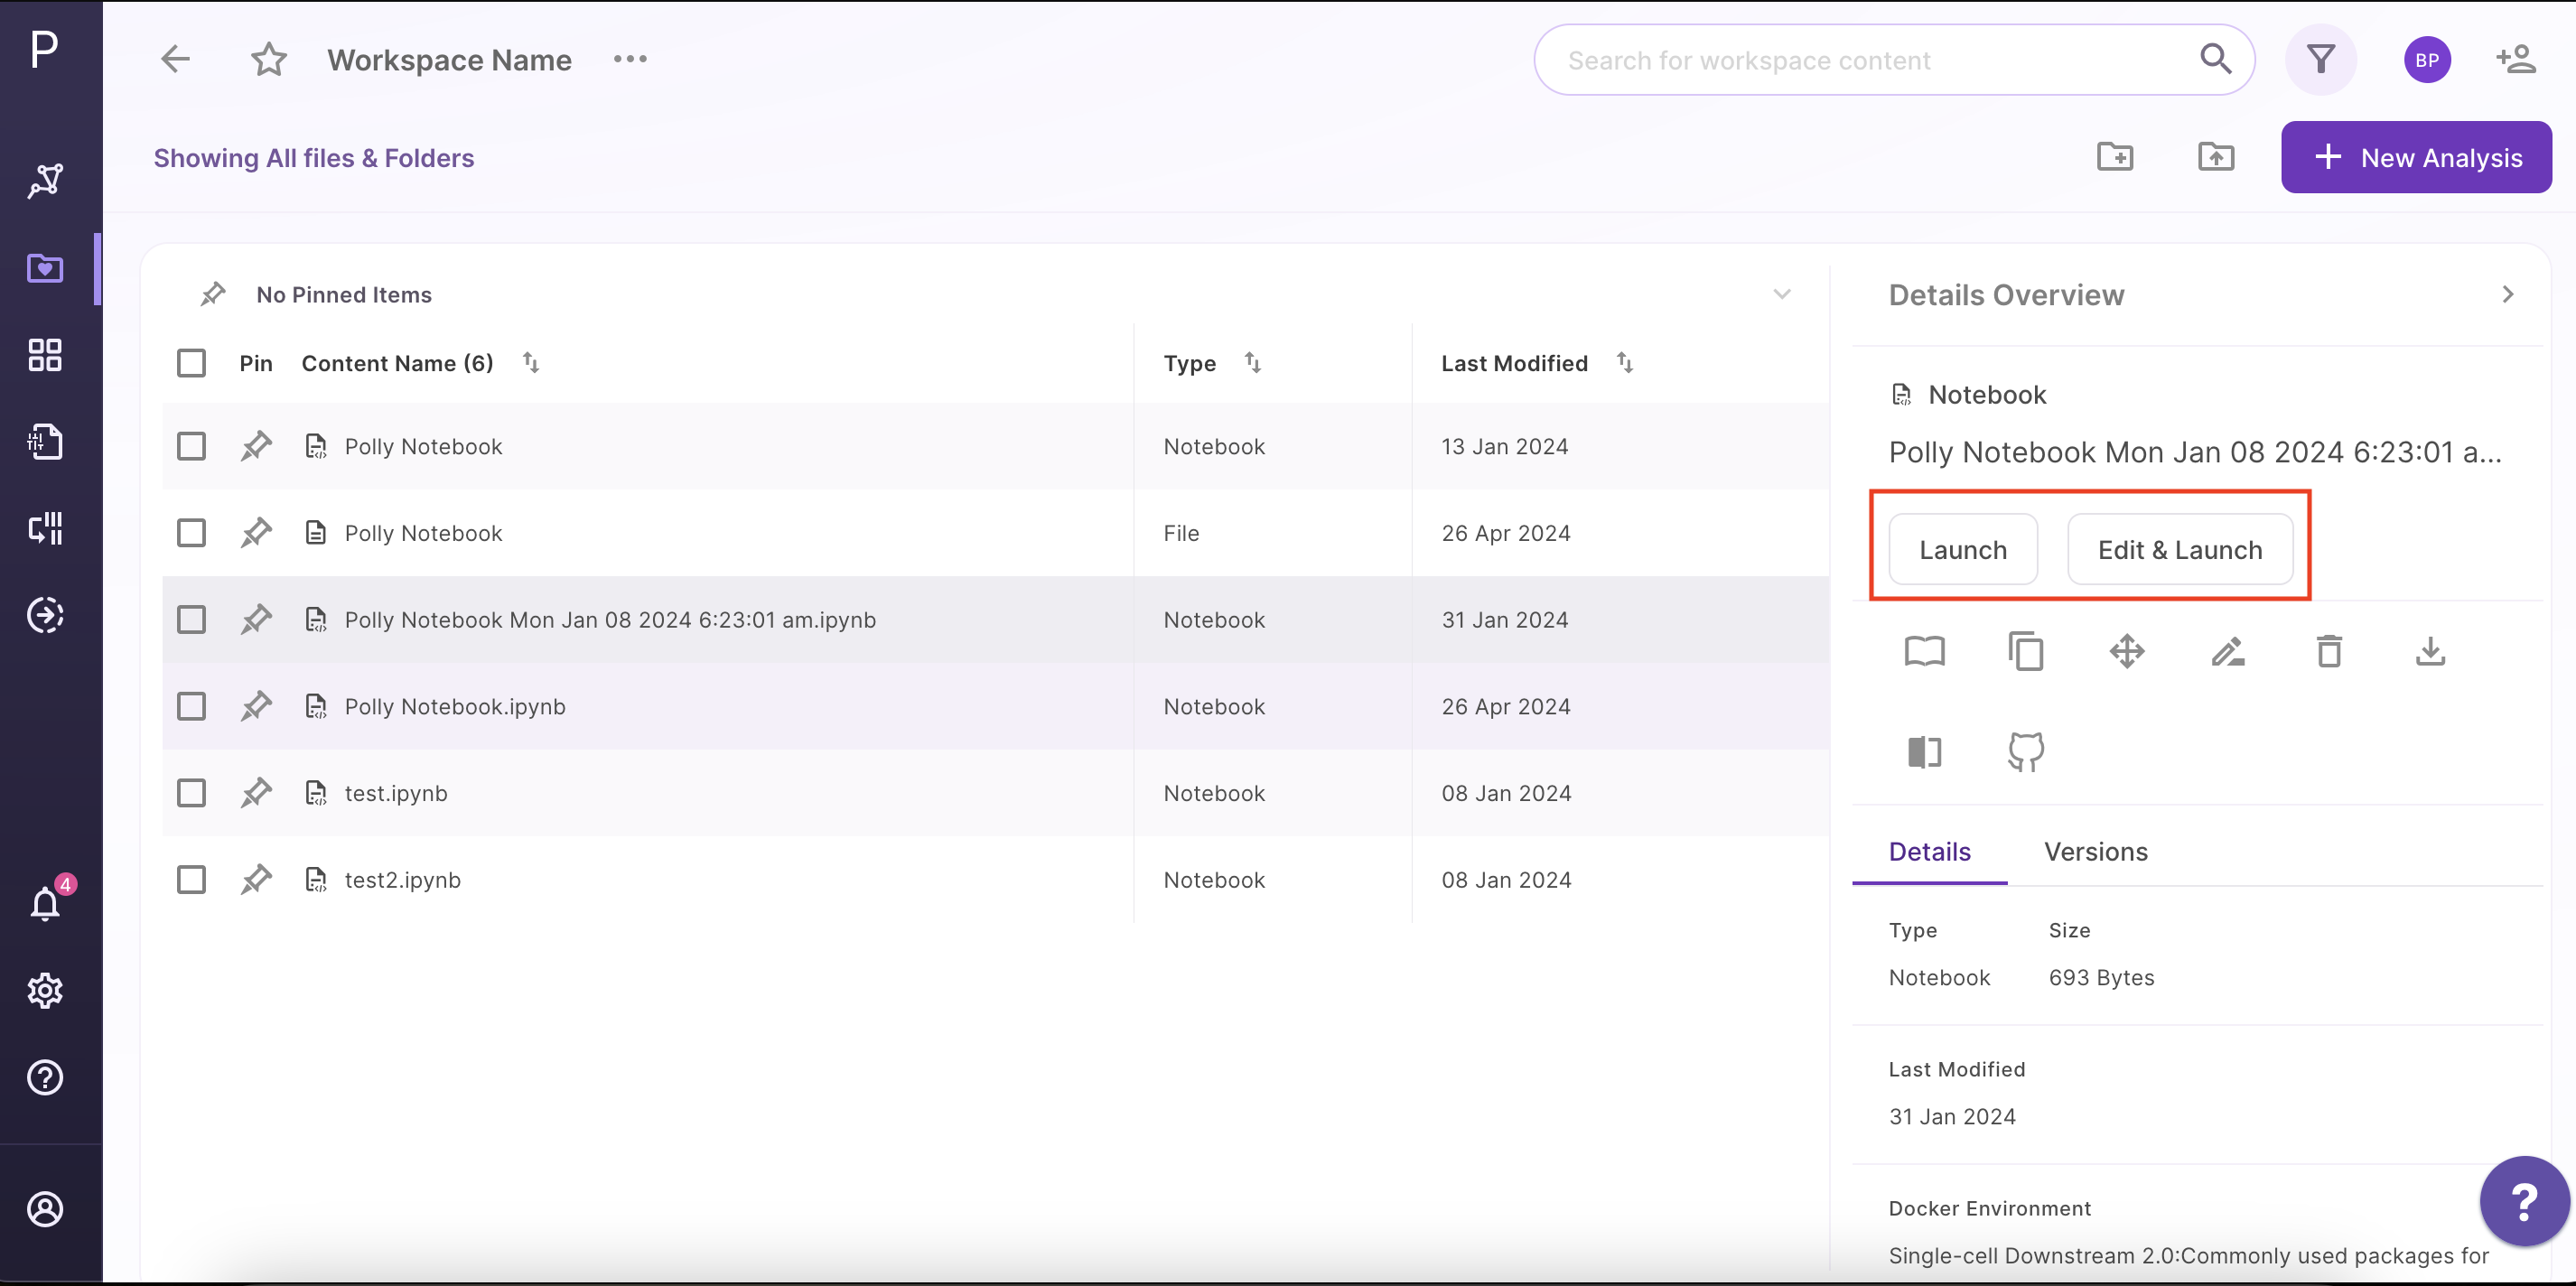
- For an older notebook: You have two options, you can either launch the notebook directly by the Launch button or you can choose to edit it first before launching through the Edit and Launch button.
Note:
- Under the edit option, you can only change the machine type. The docker environment would remain the same as the one selected when you run the notebook for the first time.

Other Useful Features
There are few other useful features as well that might come handy when using a Polly Notebook.
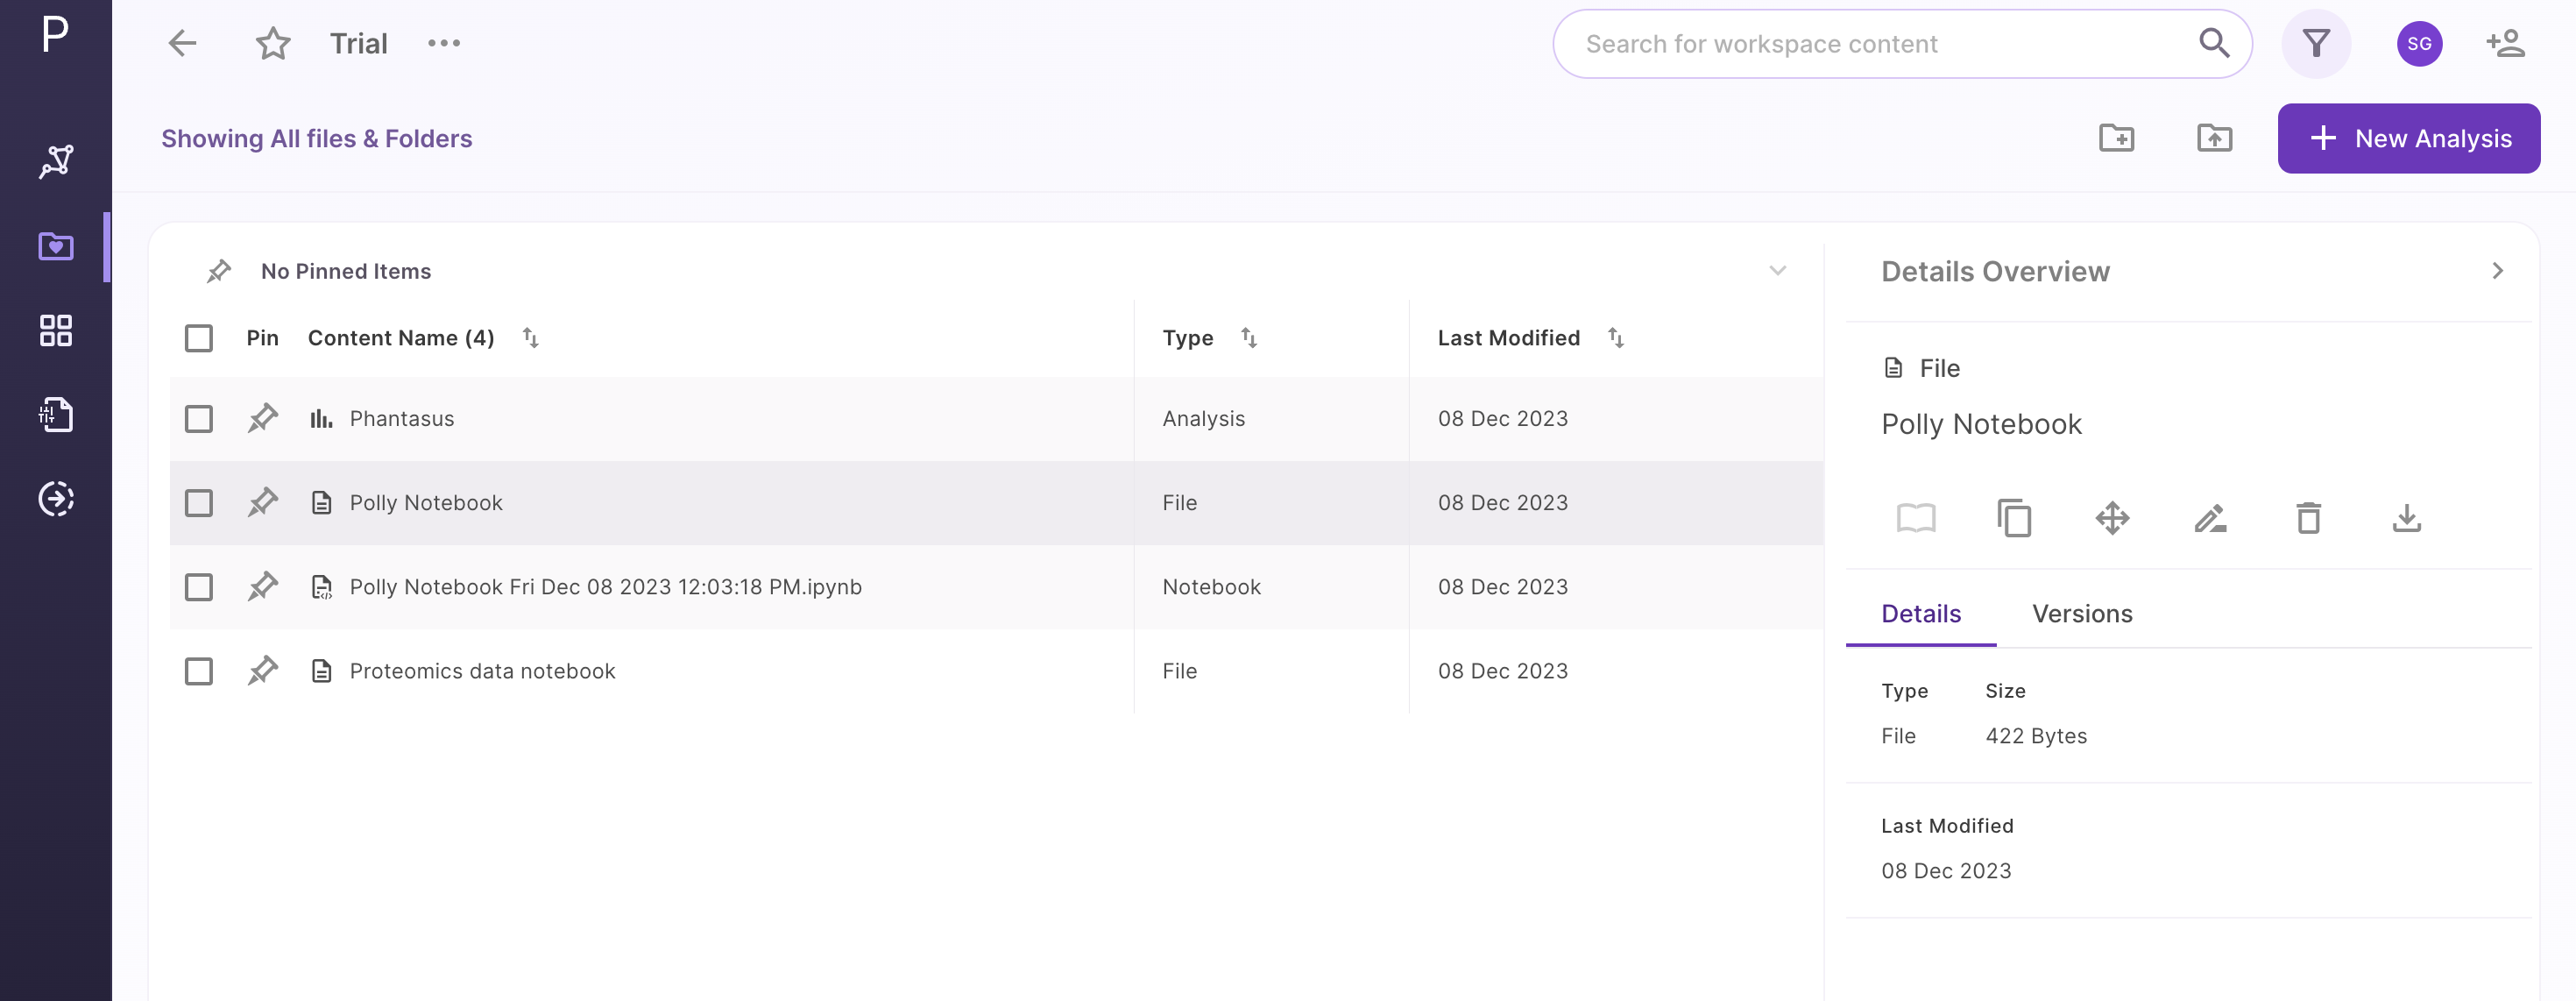
-
Select a notebook from the workspace. A detailed overview side panel will open, providing various options:
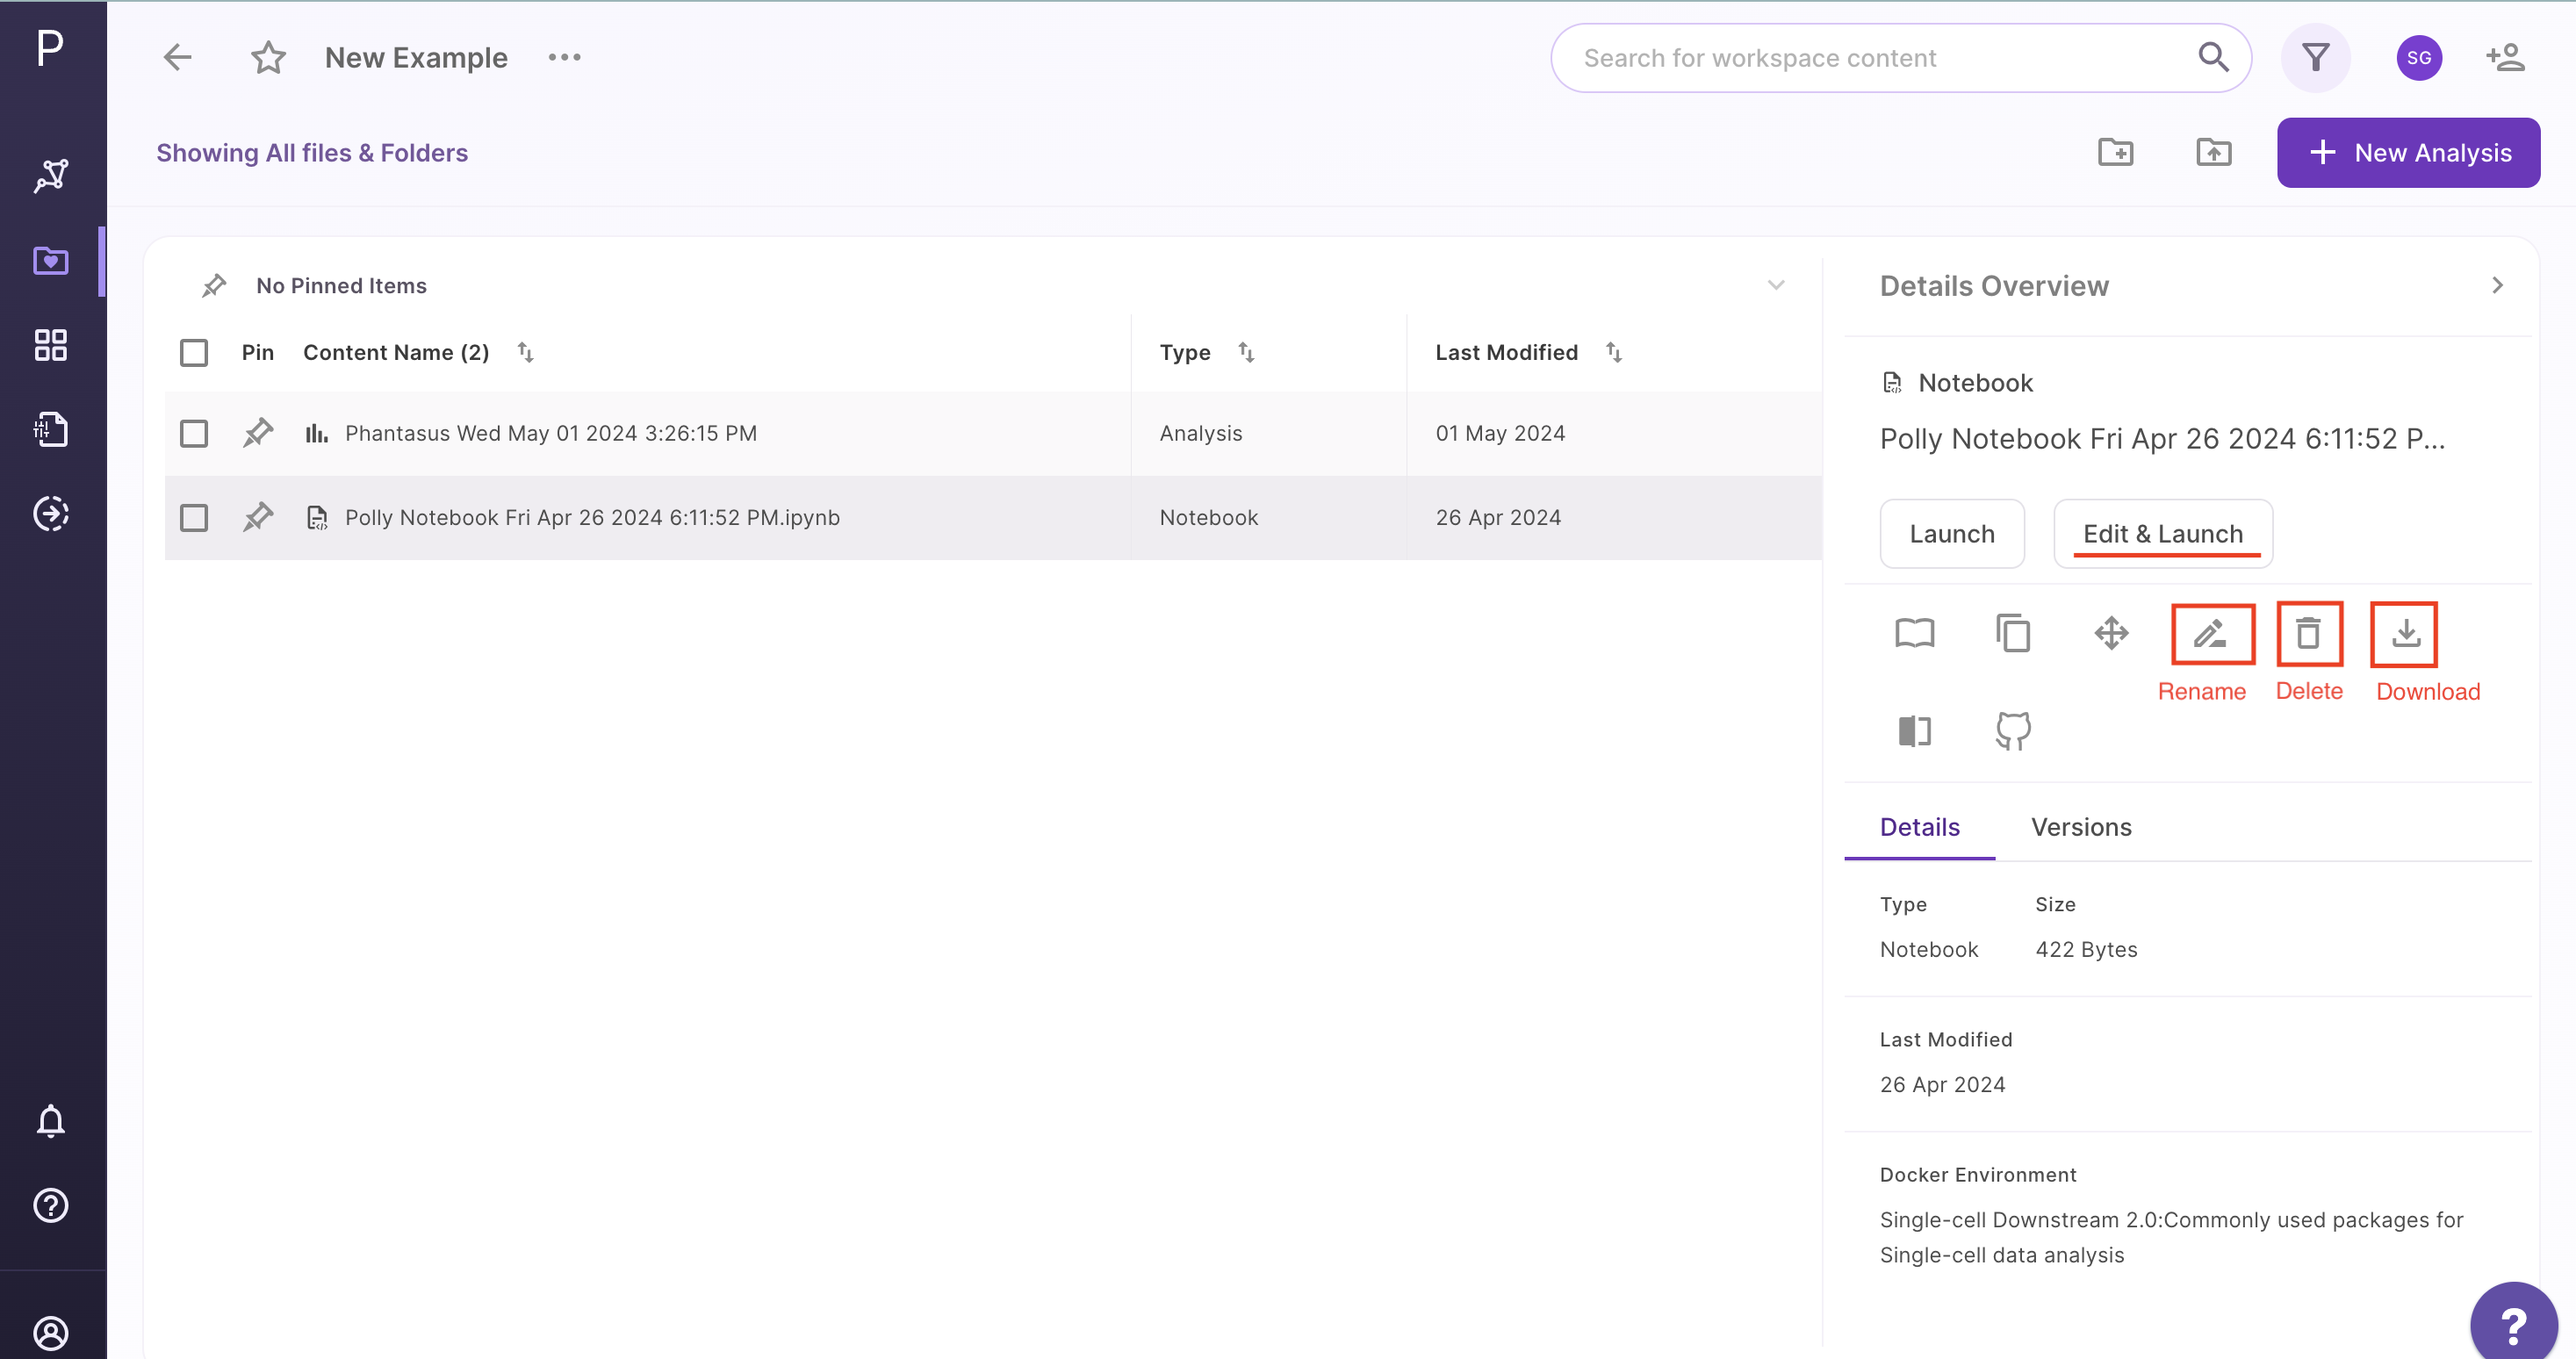
Figure 7. Other options -
Navigate to the desired option.
-
Rename: You can rename the file using this option. Provide the new name to the file and click on Rename to confirm your changes.
-
Edit & Launch: Polly gives the flexibility to change the machine configuration to allow the usage of the notebook according to the computing power required at each step. You can change the configuration according to the need at each step. A menu with the different machine configuration will open, with the various options available will be displayed under the Select Machine Type segment. Select the appropriate option to change the configuration.
-
Download: You can select this option to download the selected notebook on your system.
-
Delete: You can use this option to delete the selected notebook.
-