Adding files and notebooks to your workspace
Using GUI
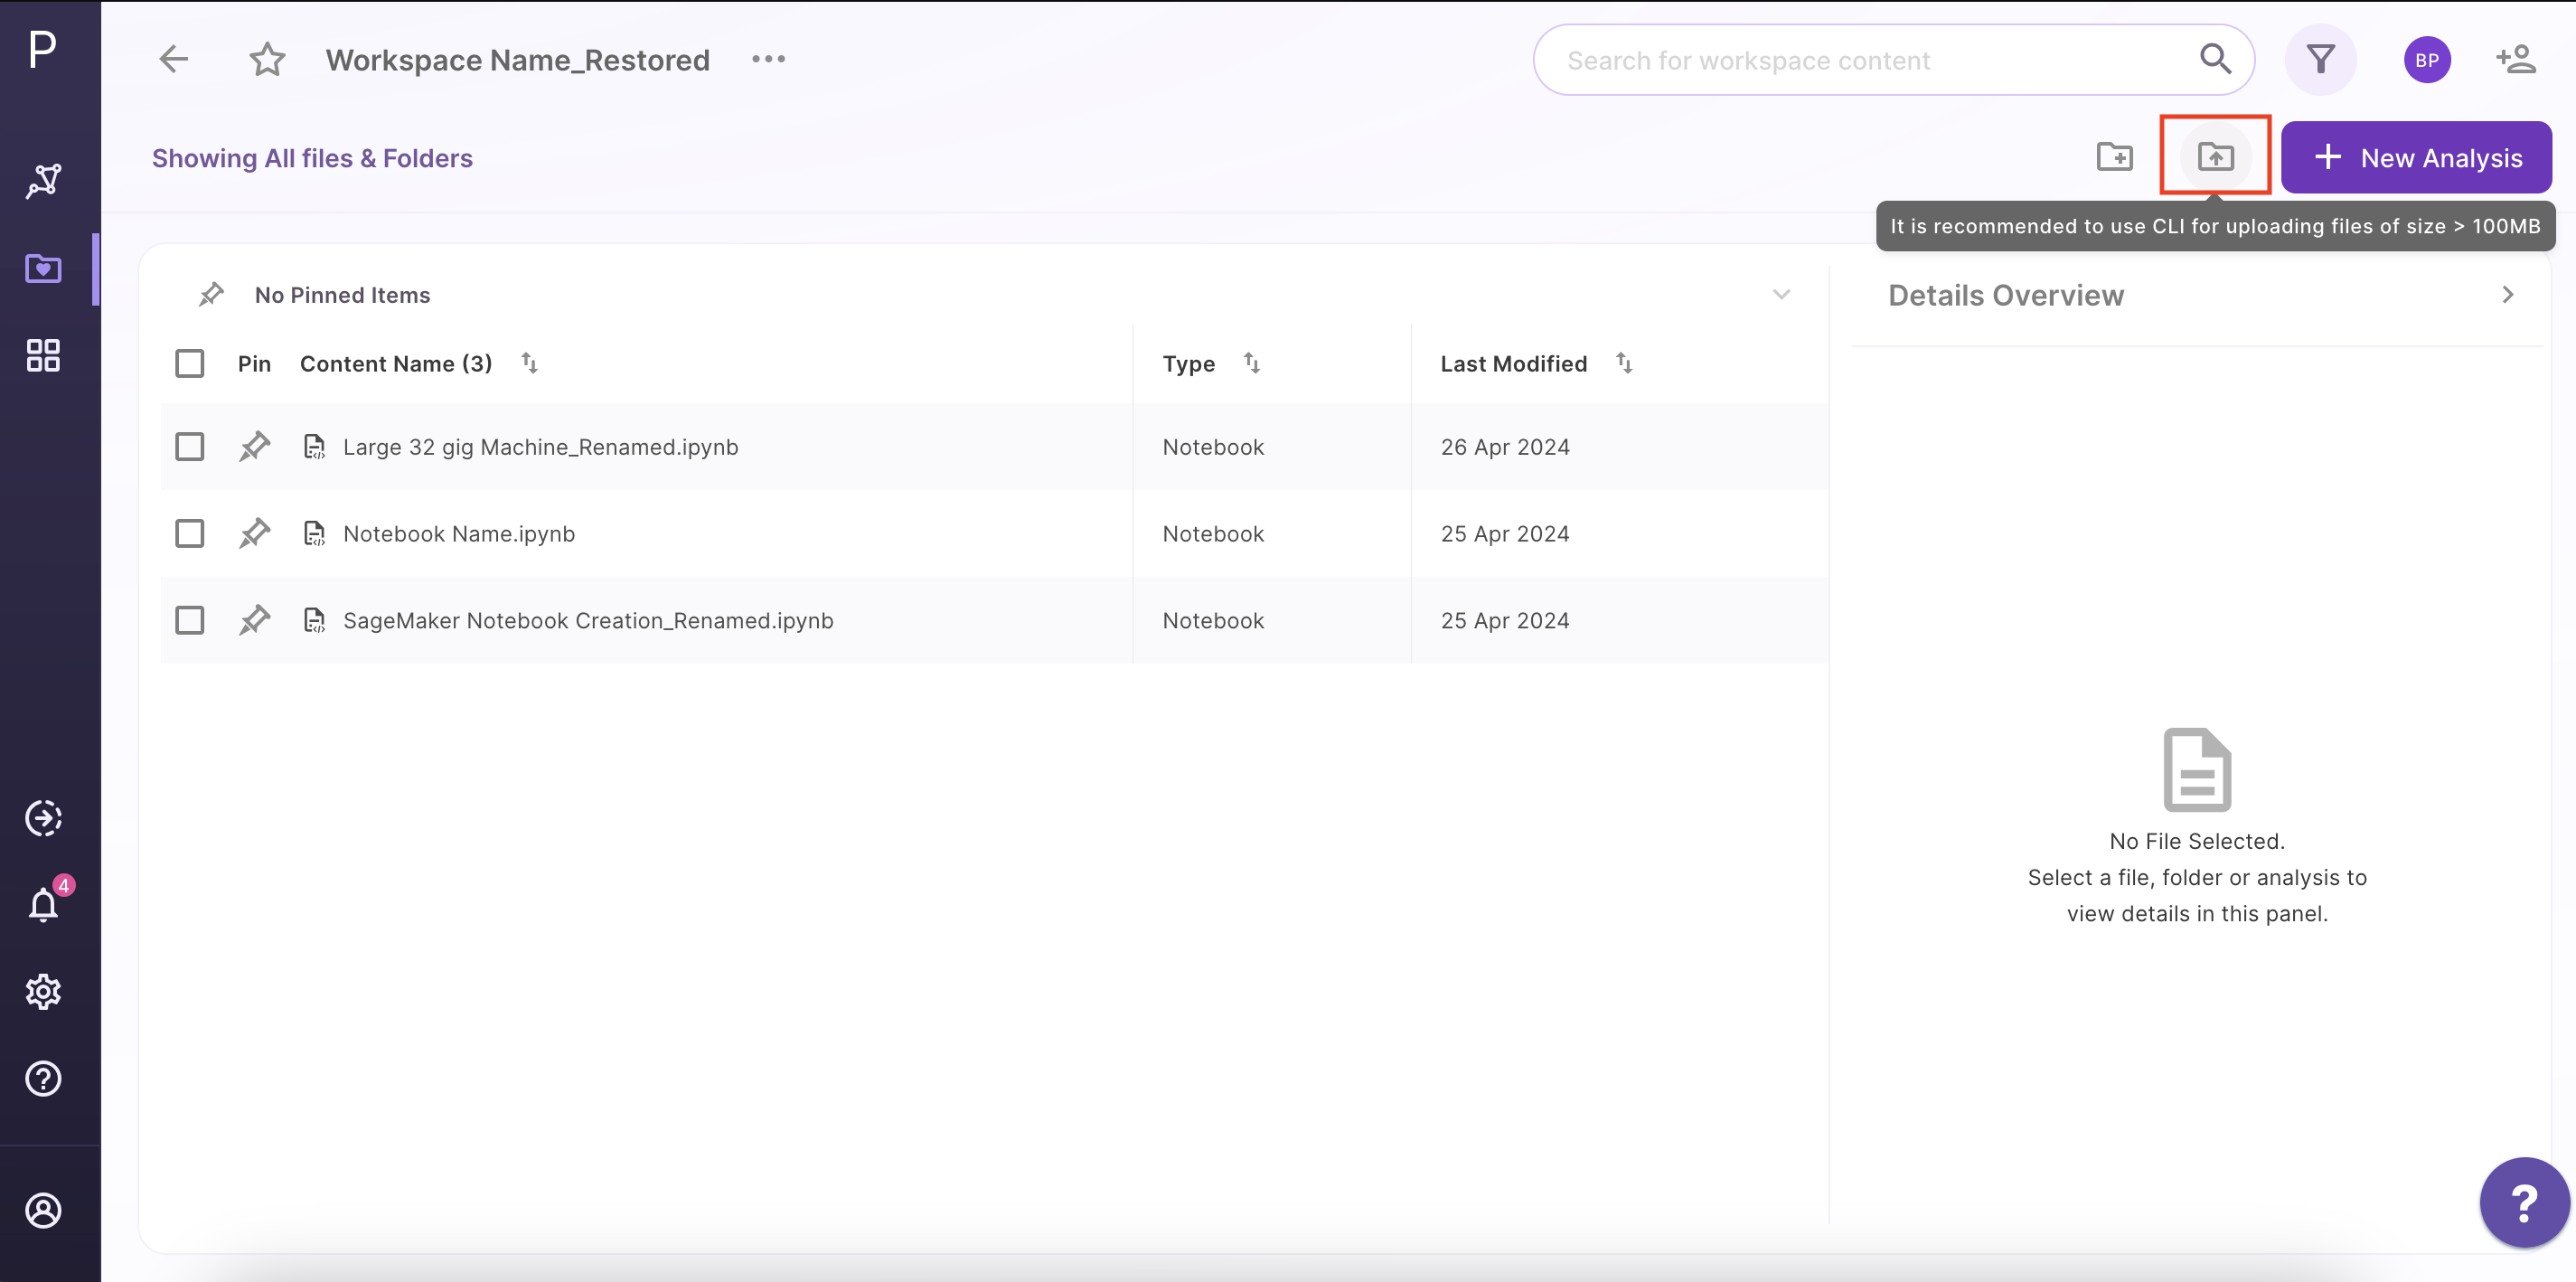
To add files to your workspaces, click on the upload icon present at the left panel.
Note:
- If your file size is greater than 100 MB, use the Polly CLI option to upload to the workspace.
Using CLI
You can use PollyCLI as well to import your data directly within Polly. This is a more convenient option for uploading large data (more than 100 MB in size). The steps for the same are detailed here.
Deleting items within a workspace
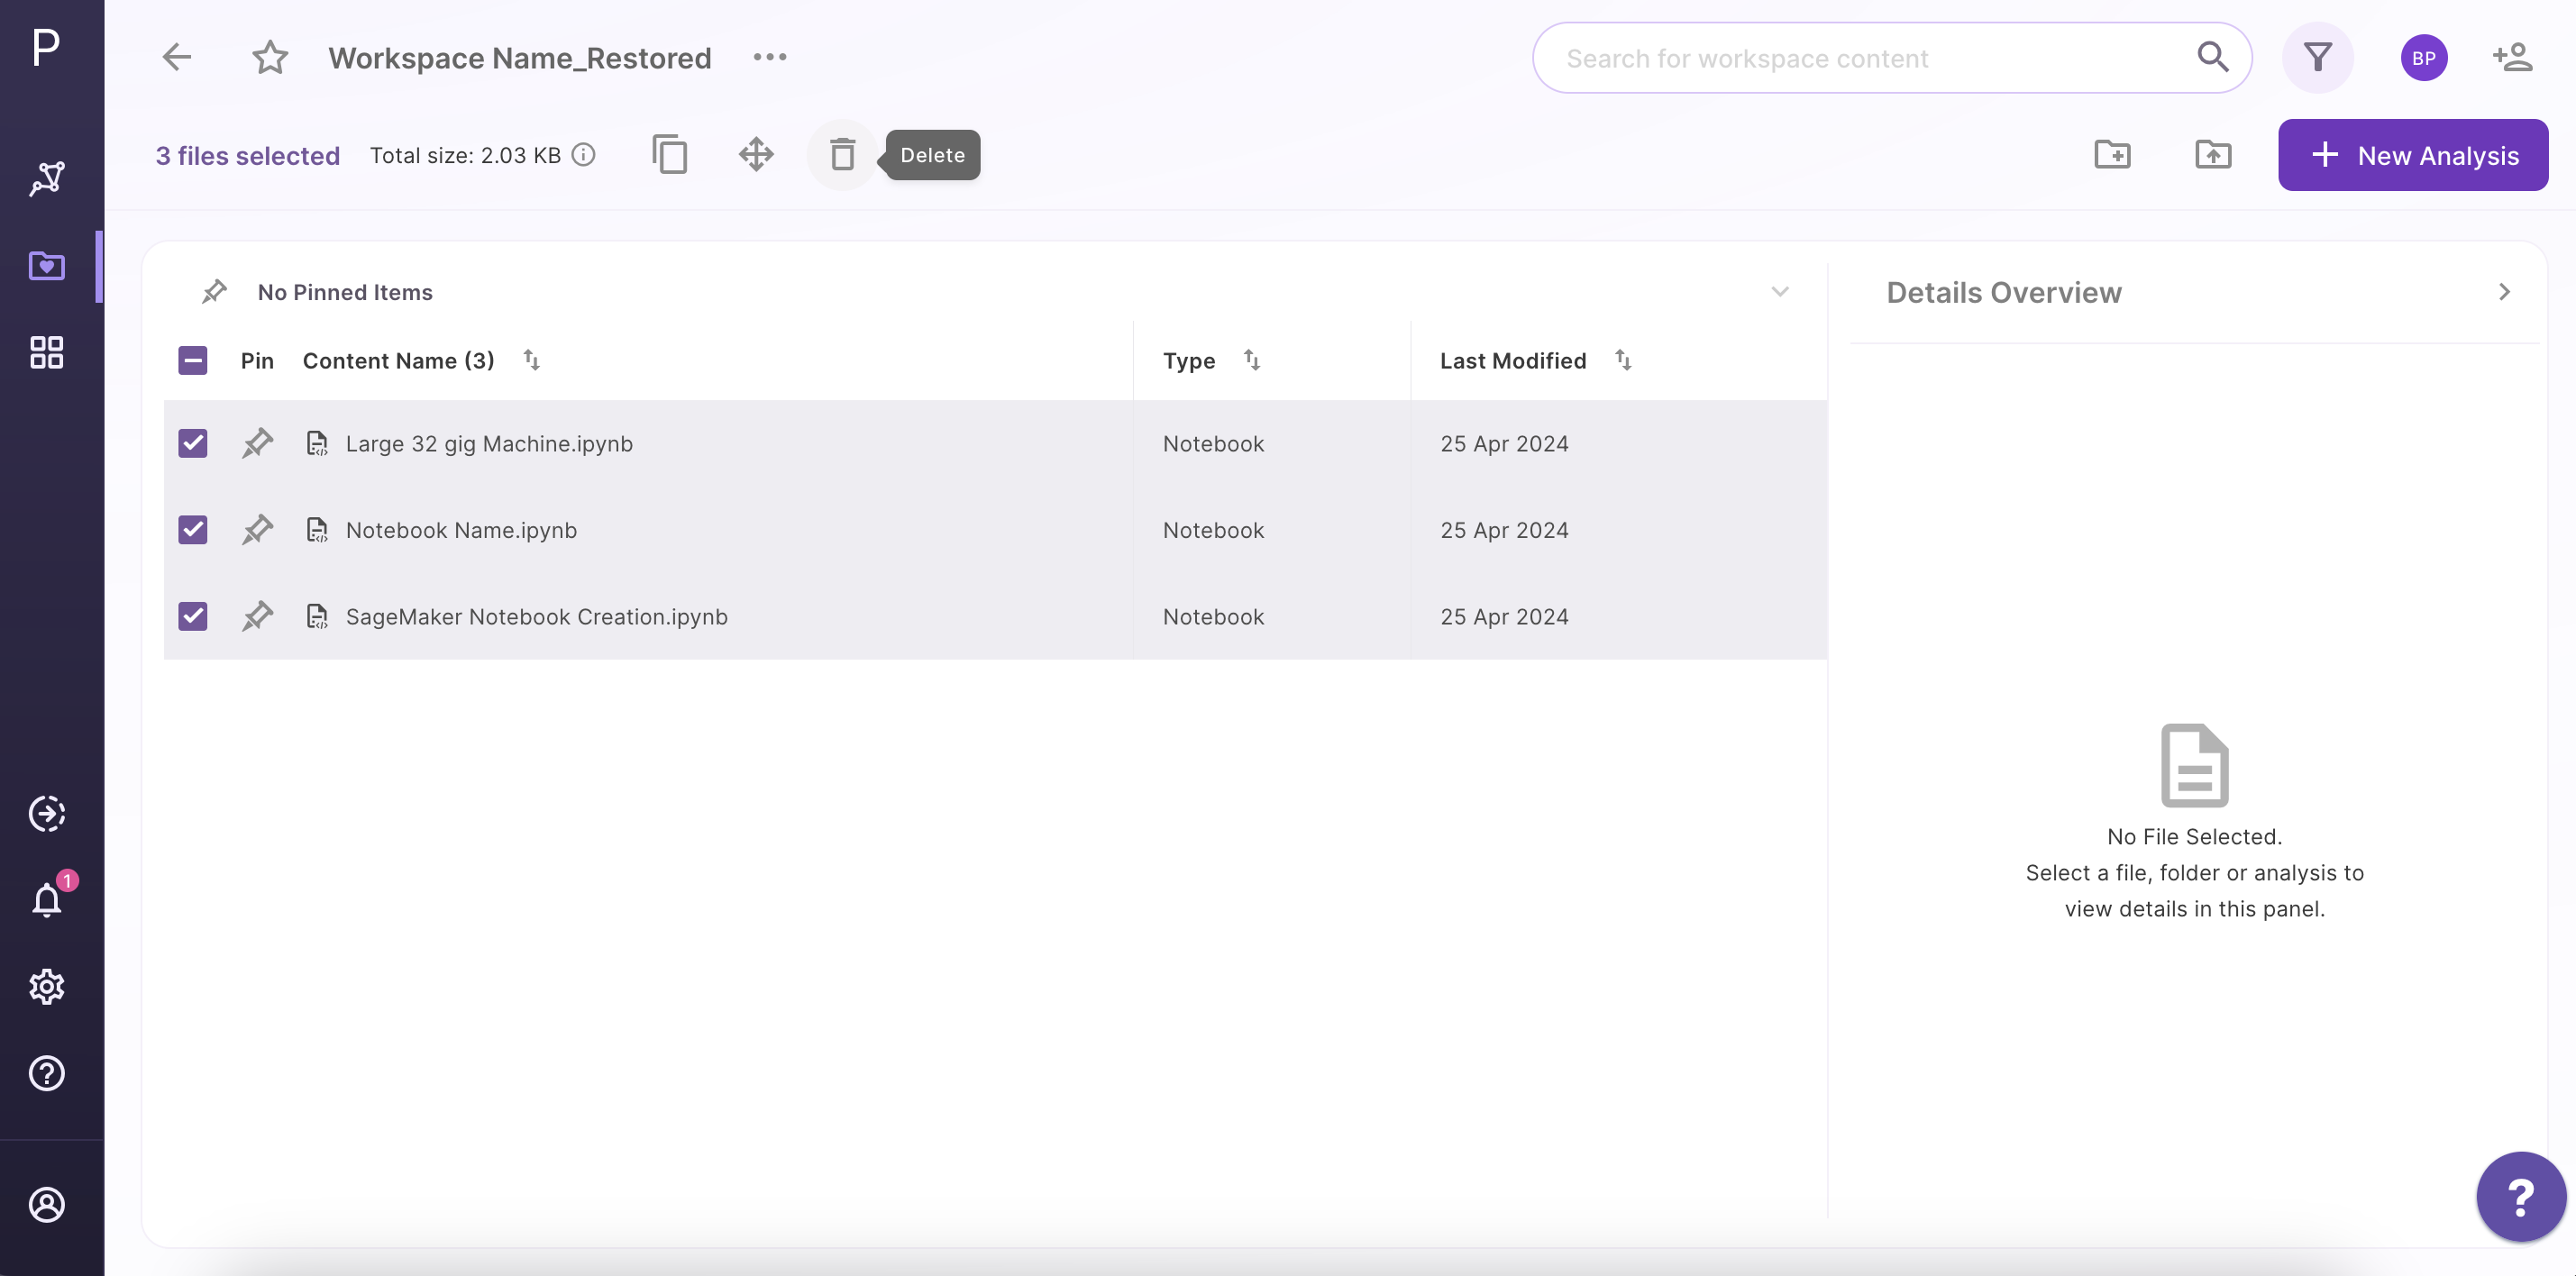
Deleting Multiple Files: Select the files that you want to delete through the checkbox. Click on Delete icon present on the top of the panel.
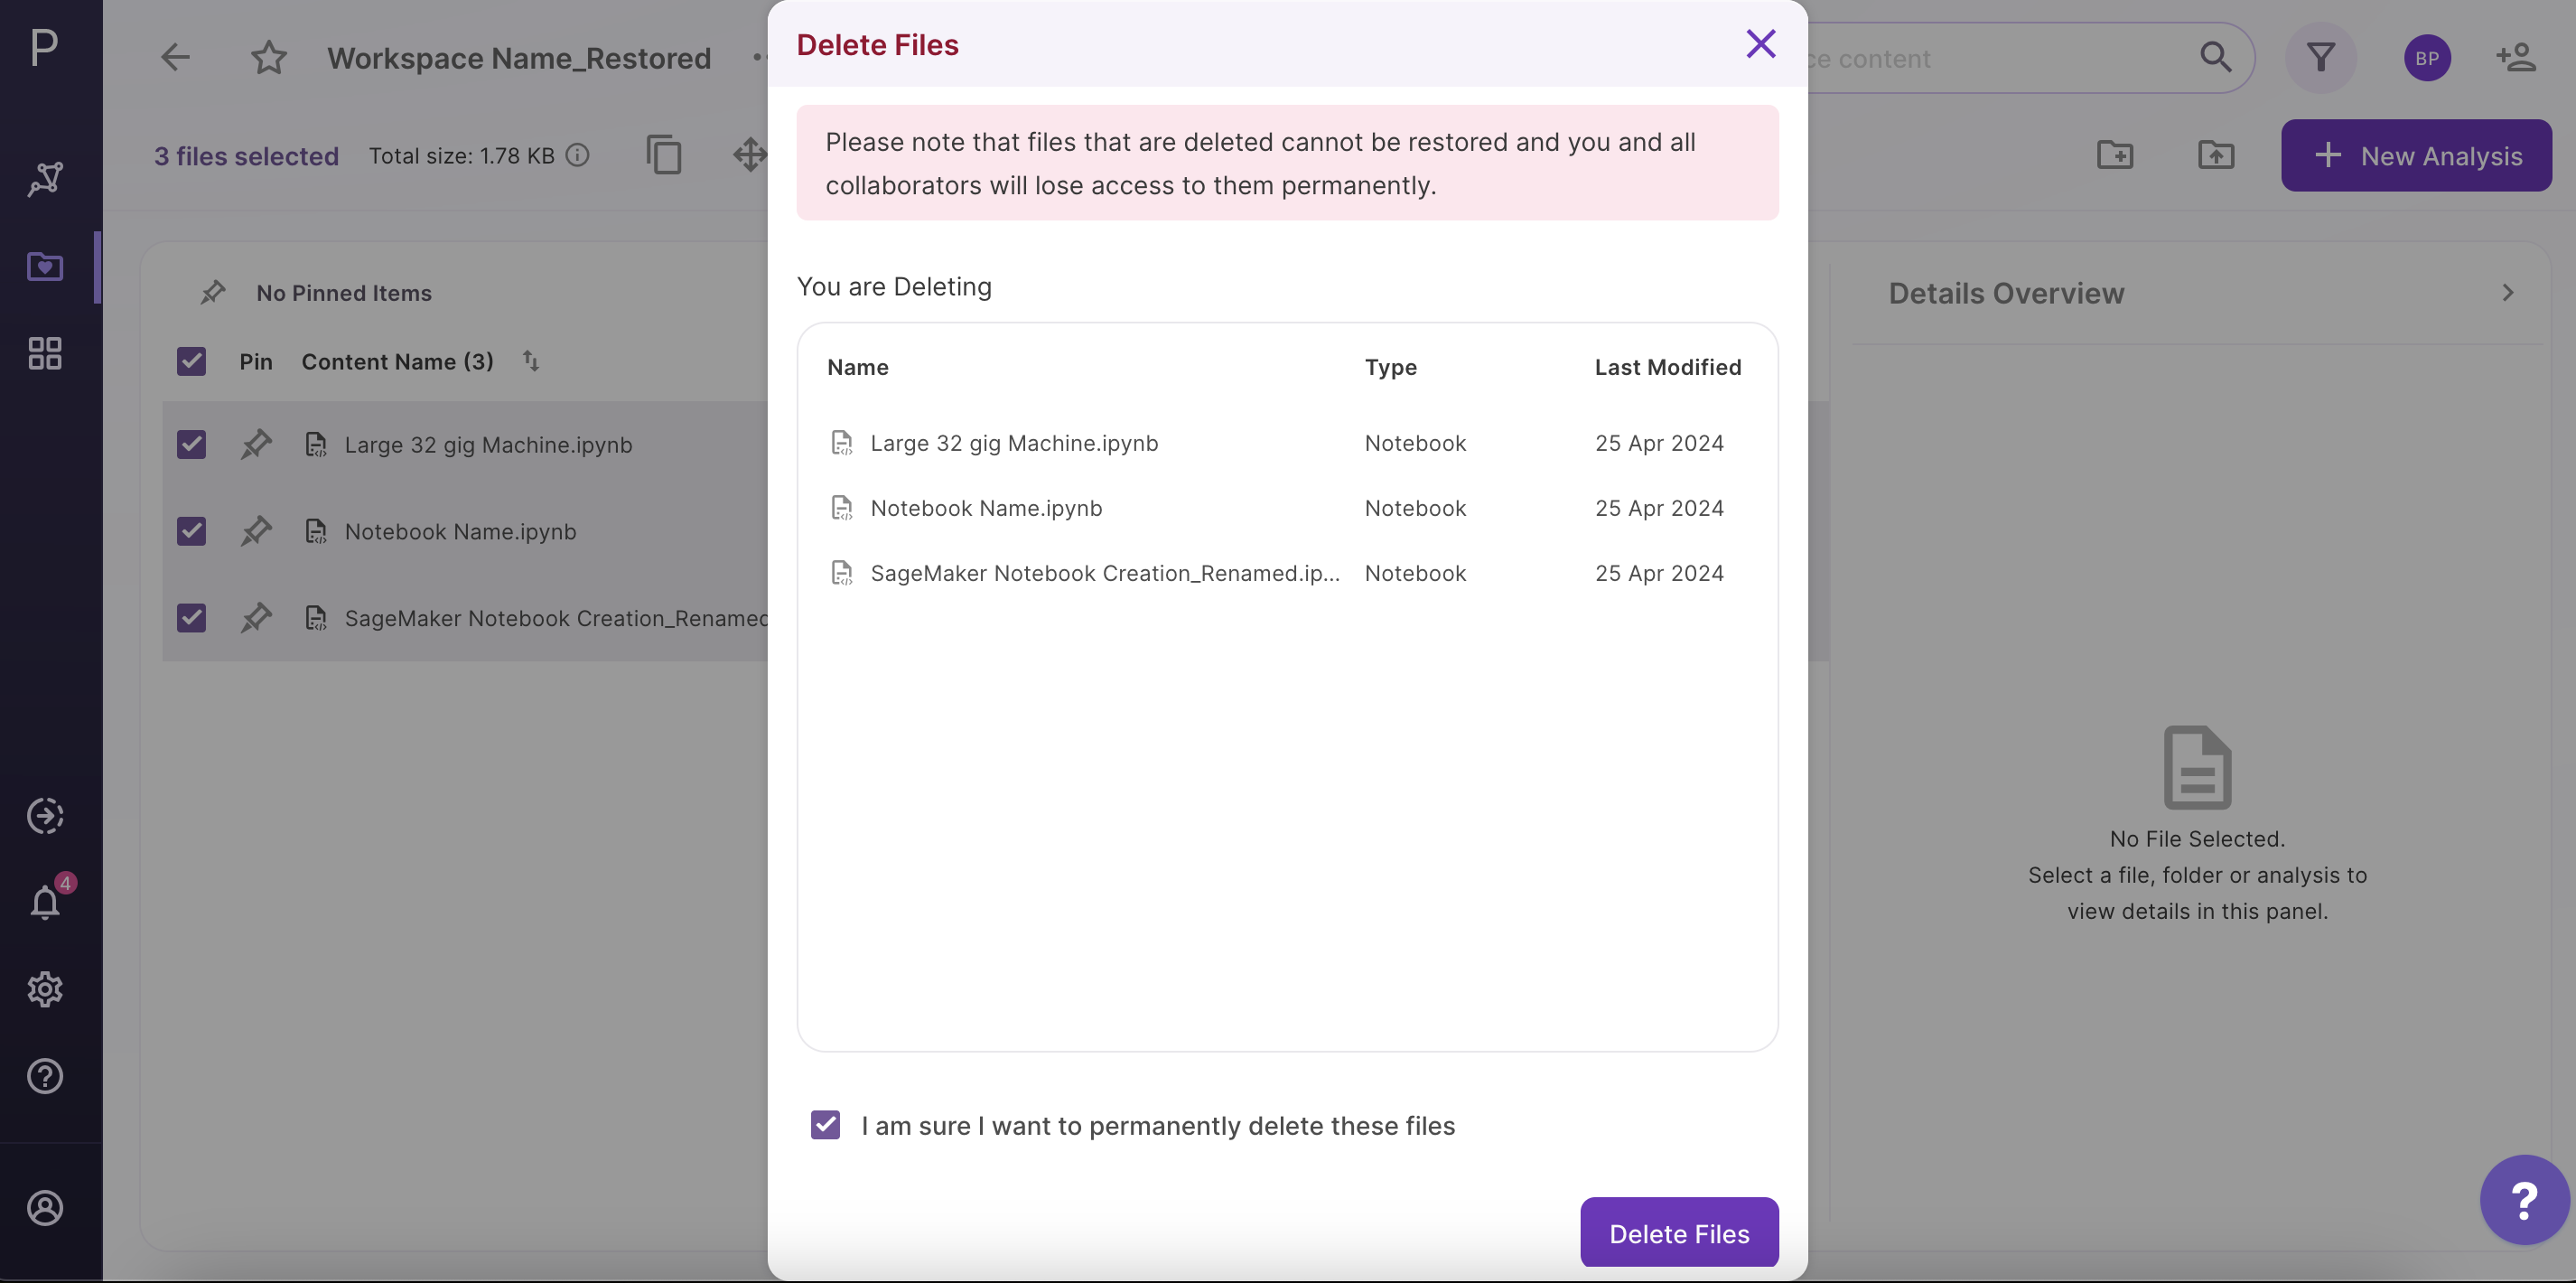
Confirm by clicking inside the checkbox and then click on Delete to delete your selected files.
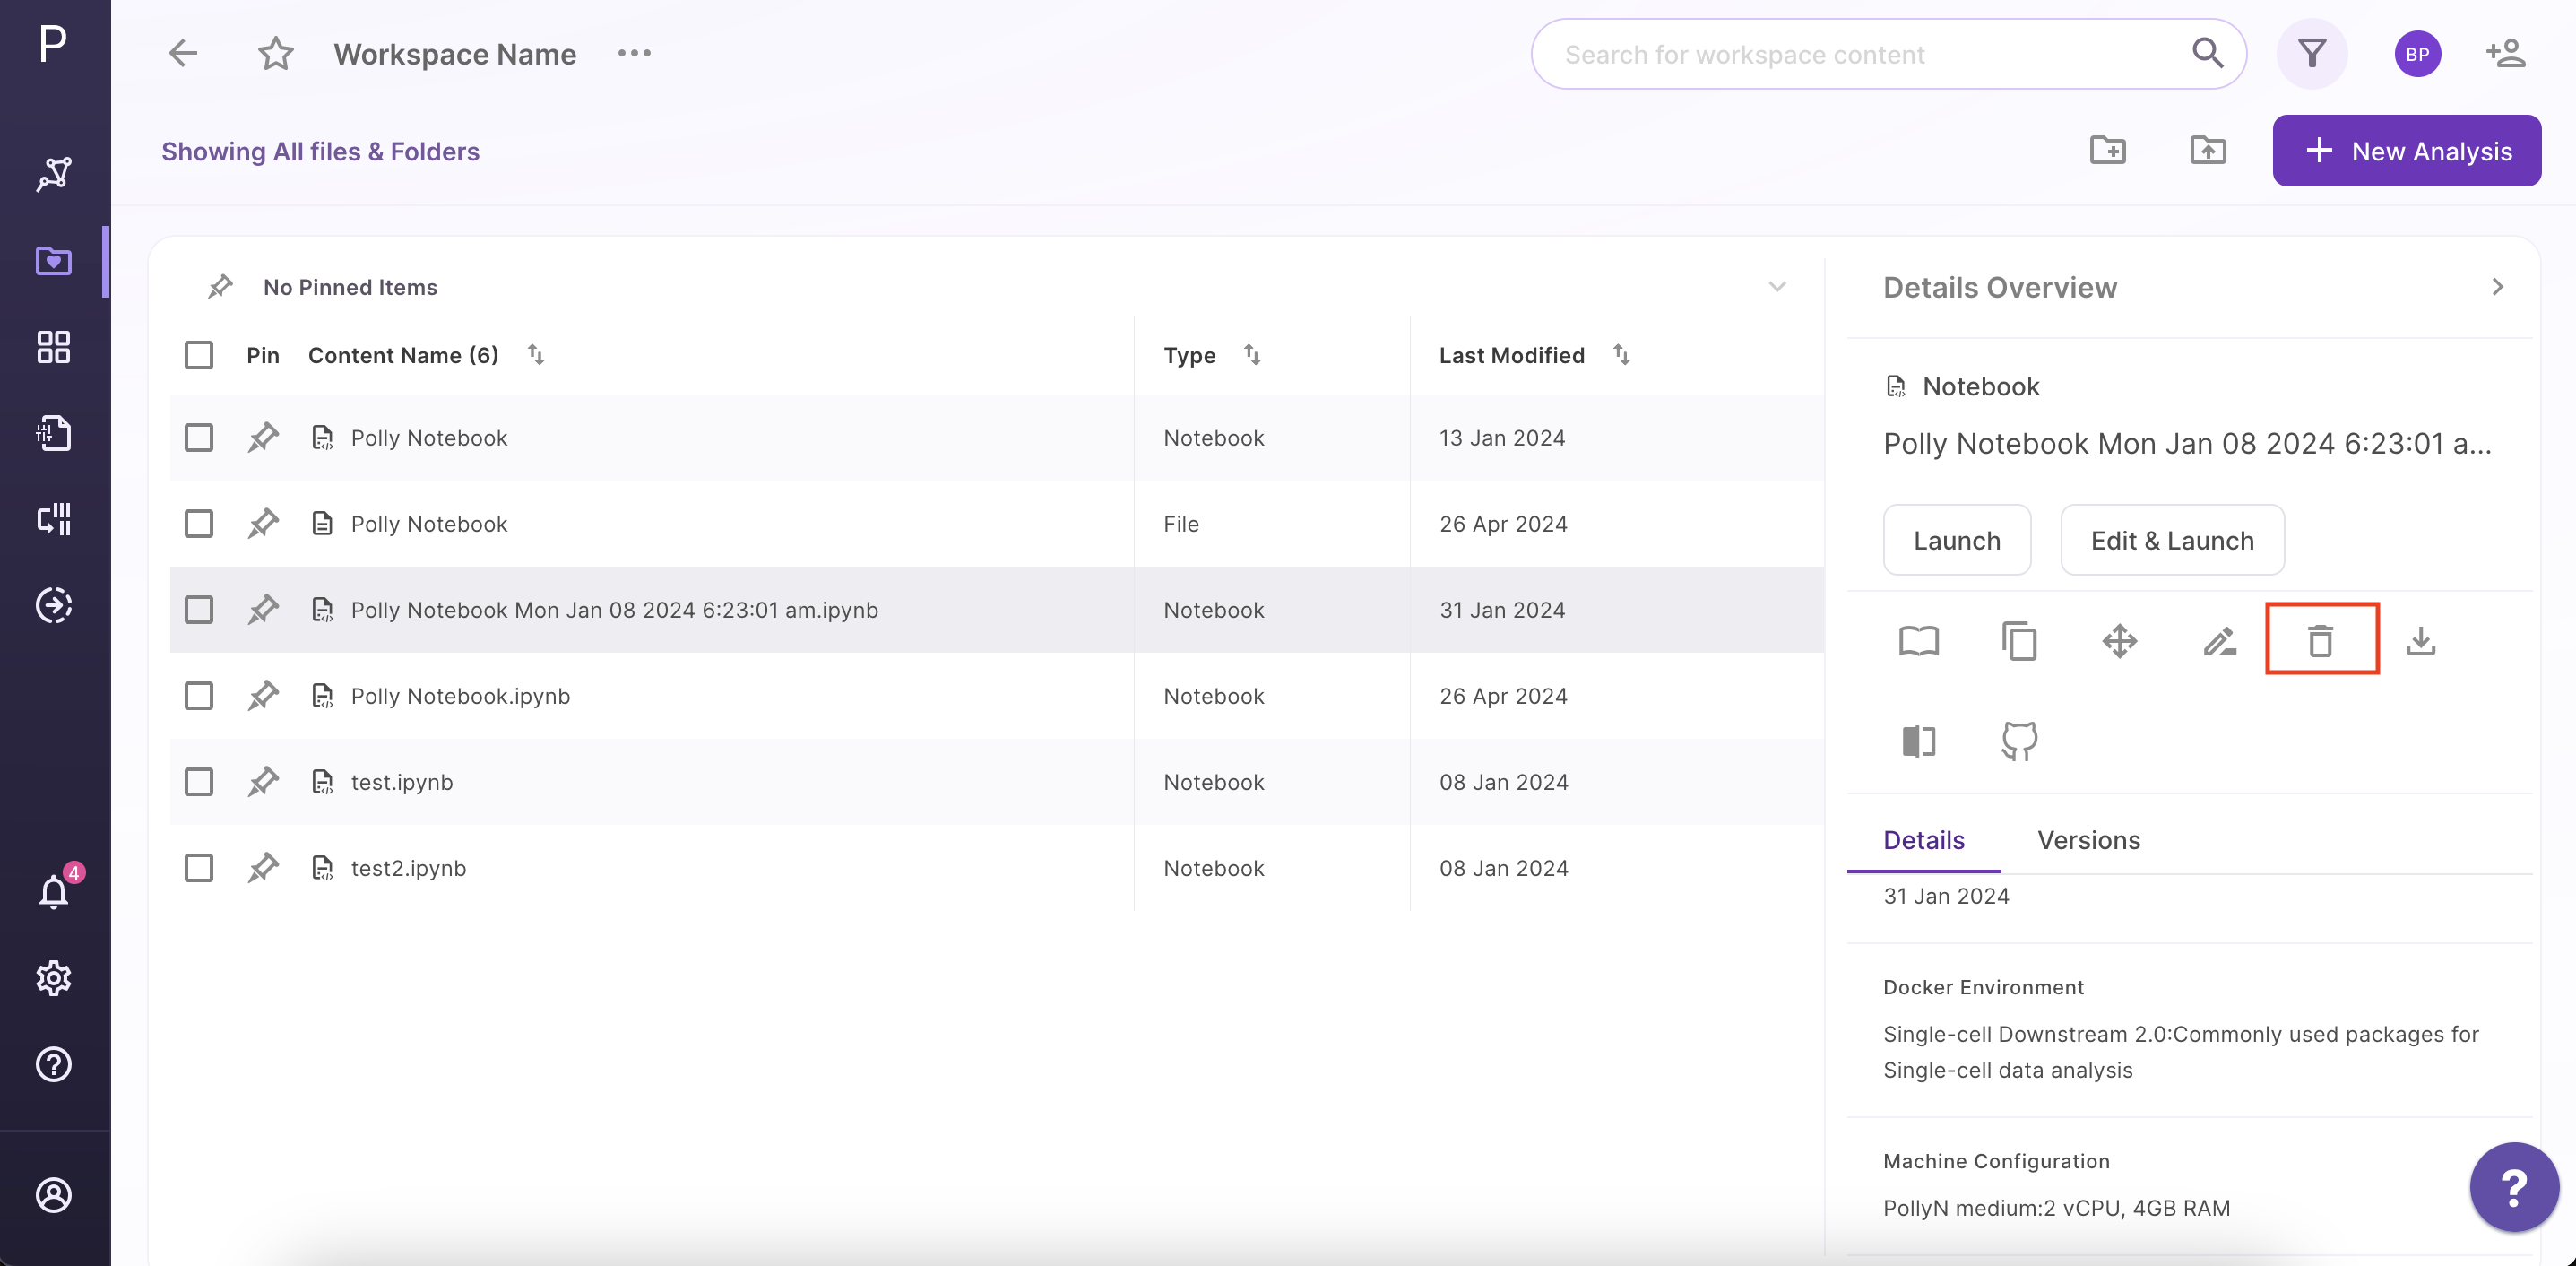
Deleting a single file: If you need to delete a single file, an alternate option can also be used. Click on the Delete option present on the right panel.
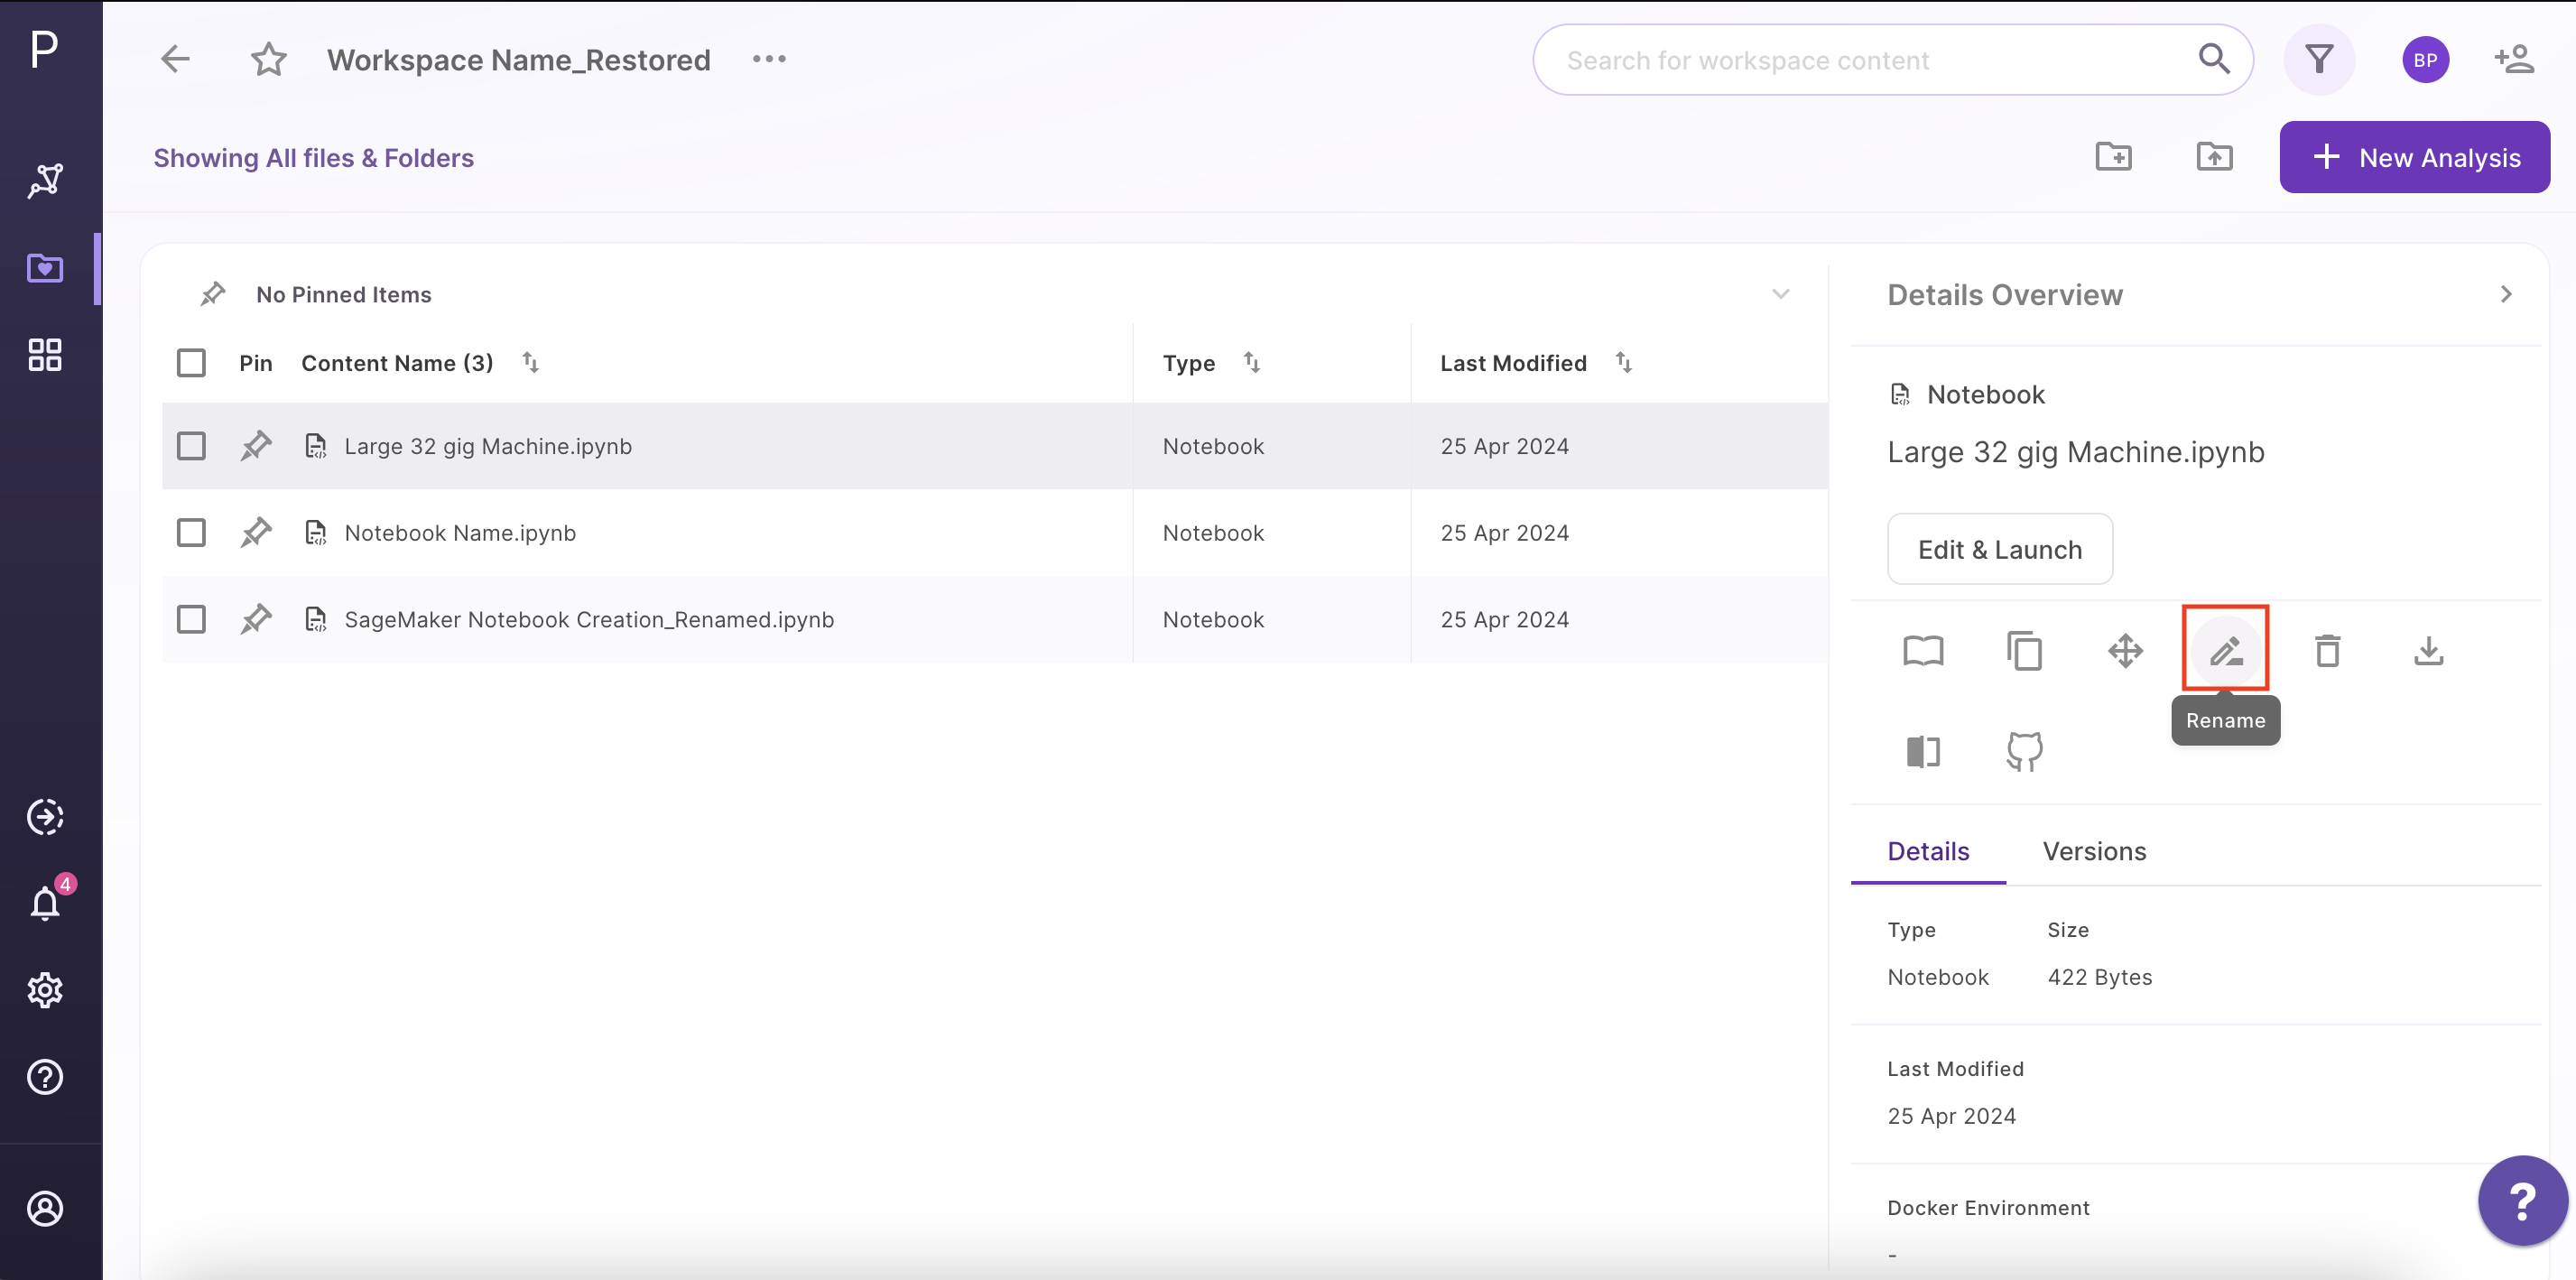
Renaming a file within workspace
Select the Rename icon present on the right panel.
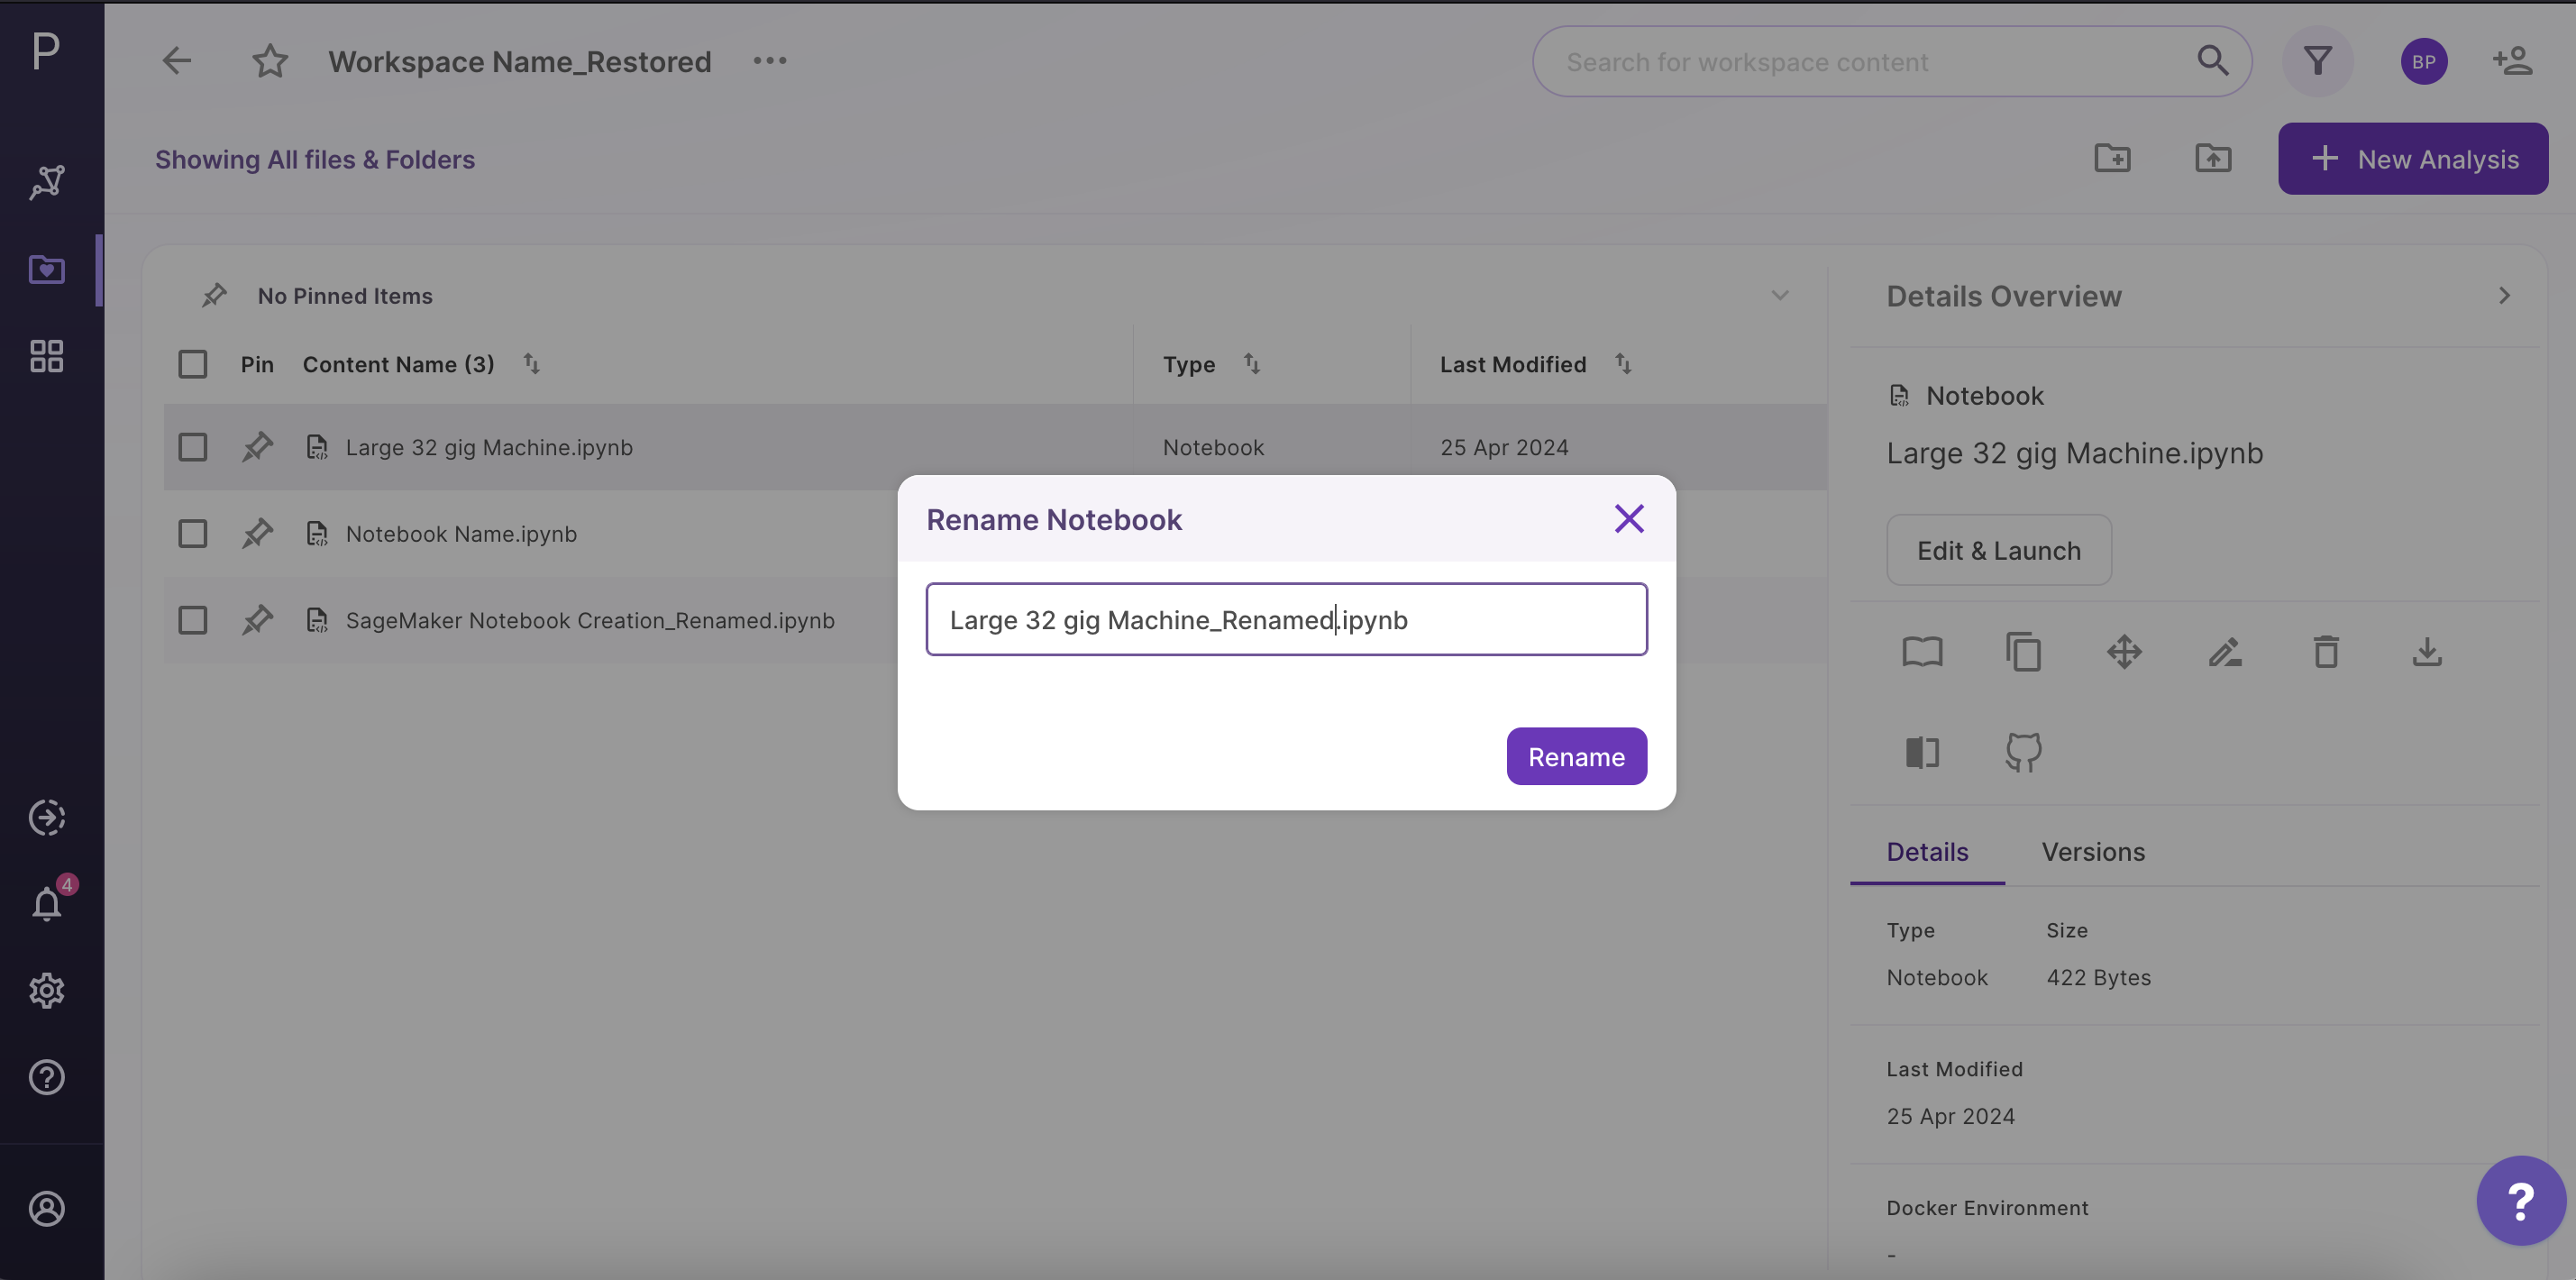
Provide the new name to the file and click on Rename to confirm your changes.
Accessing and Downloading a file within a workspace
- Using GUI
To access and download files from your workspaces, Click on the file to look at the file details on the right panel. You can look at the versions of the file along with general details like the file size and modifications date.
Note:
- If your file size is greater than 100 MB, use the Polly CLI option to access and download it.
You can download the file by choosing the Download option provided at the right of the panel.

- Using CLI
You can use PollyCLI as well to import your data directly within Polly. This is a more convenient option for accessing large data (more than 100 MB in size). The steps for the same are detailed here.
Accessing and Restoring an analysis within a workspace
Click on the analysis to look at the file details on the right panel. You can look at your saved states as versions of your analysis along with input details.
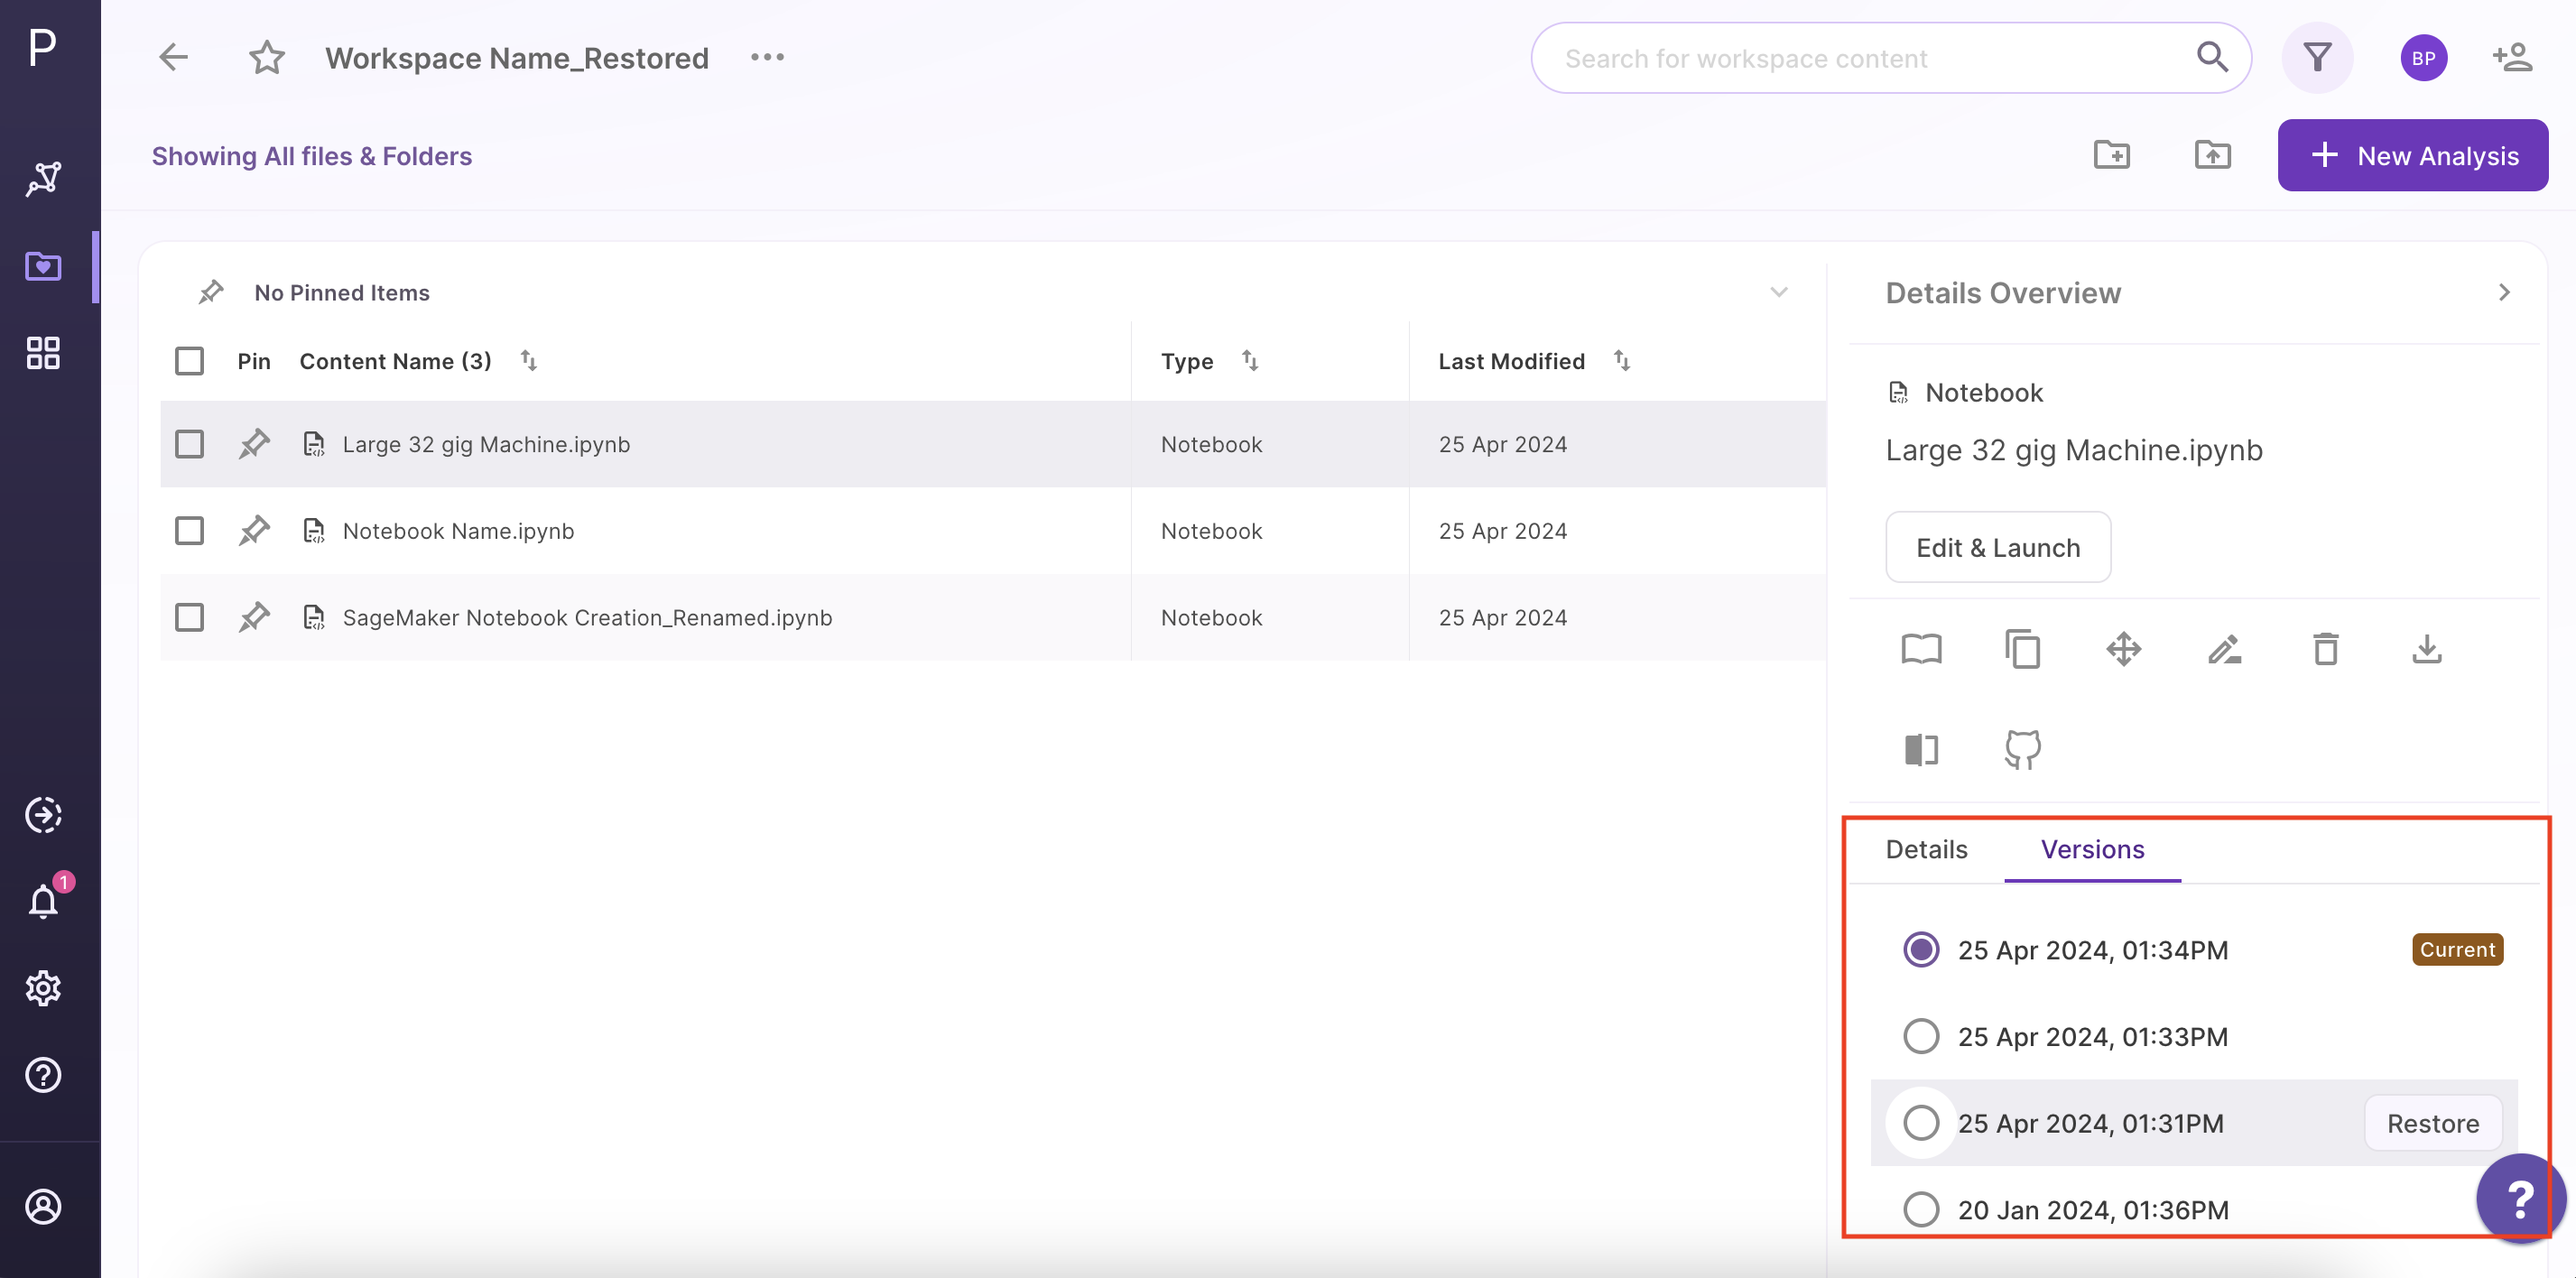
Choose the version through the checkbox and click on the Restore icon to restore the saved state.
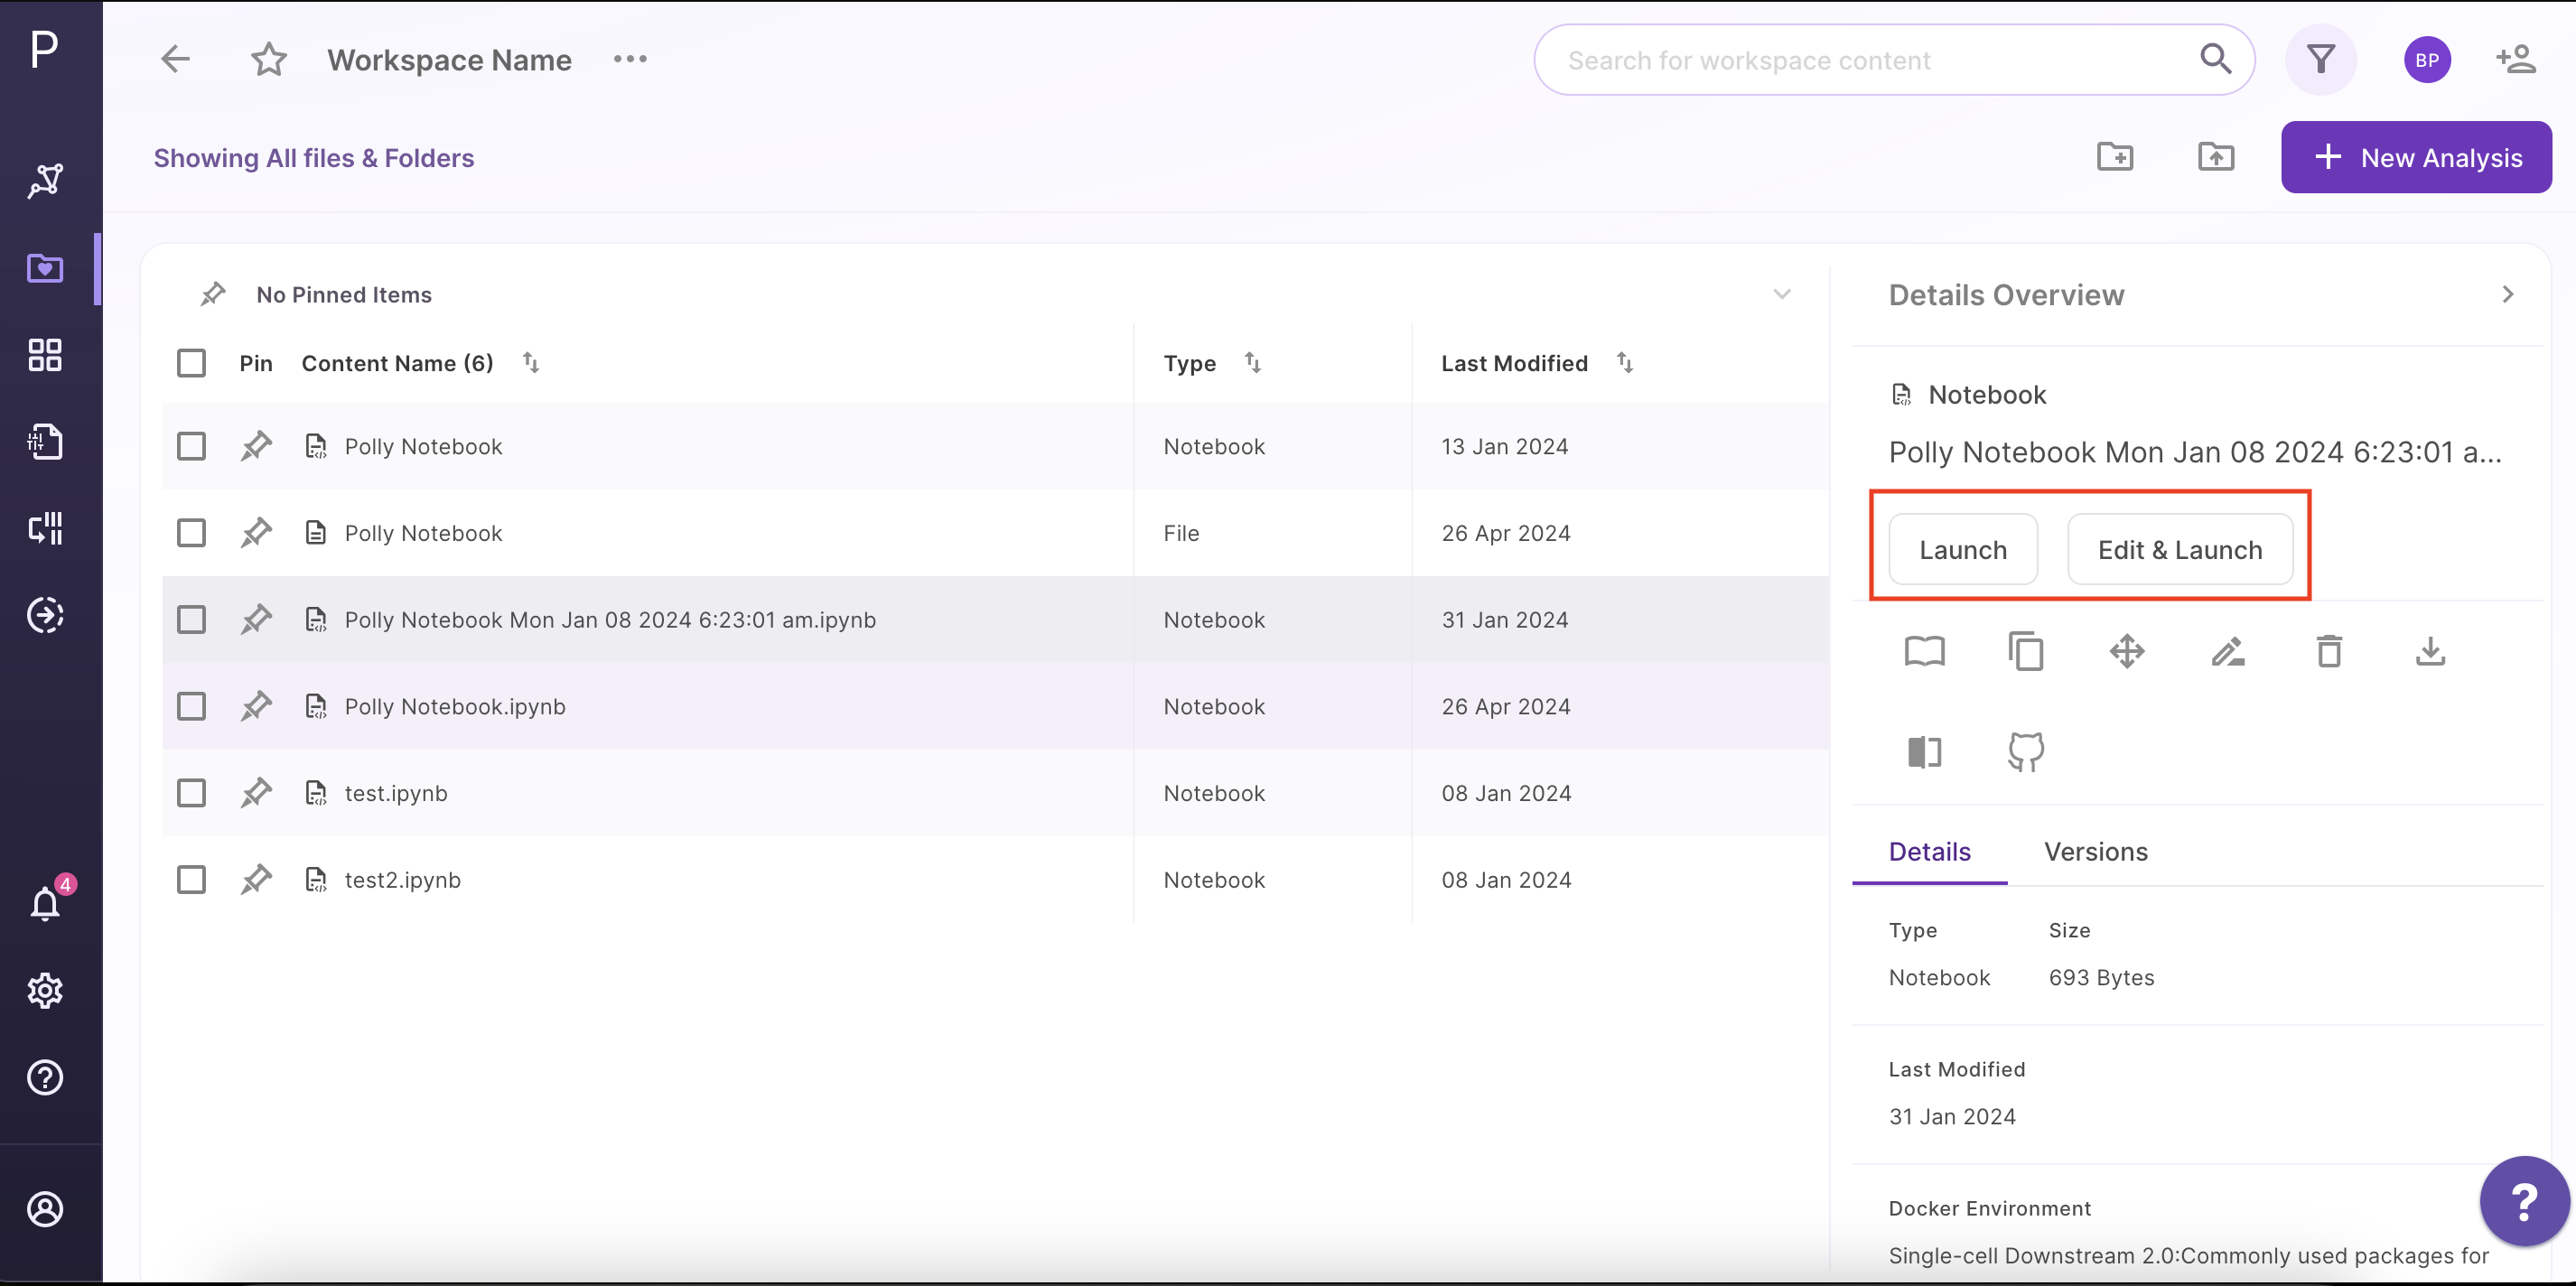
Accessing and Restoring a Pollyglot notebook within a workspace
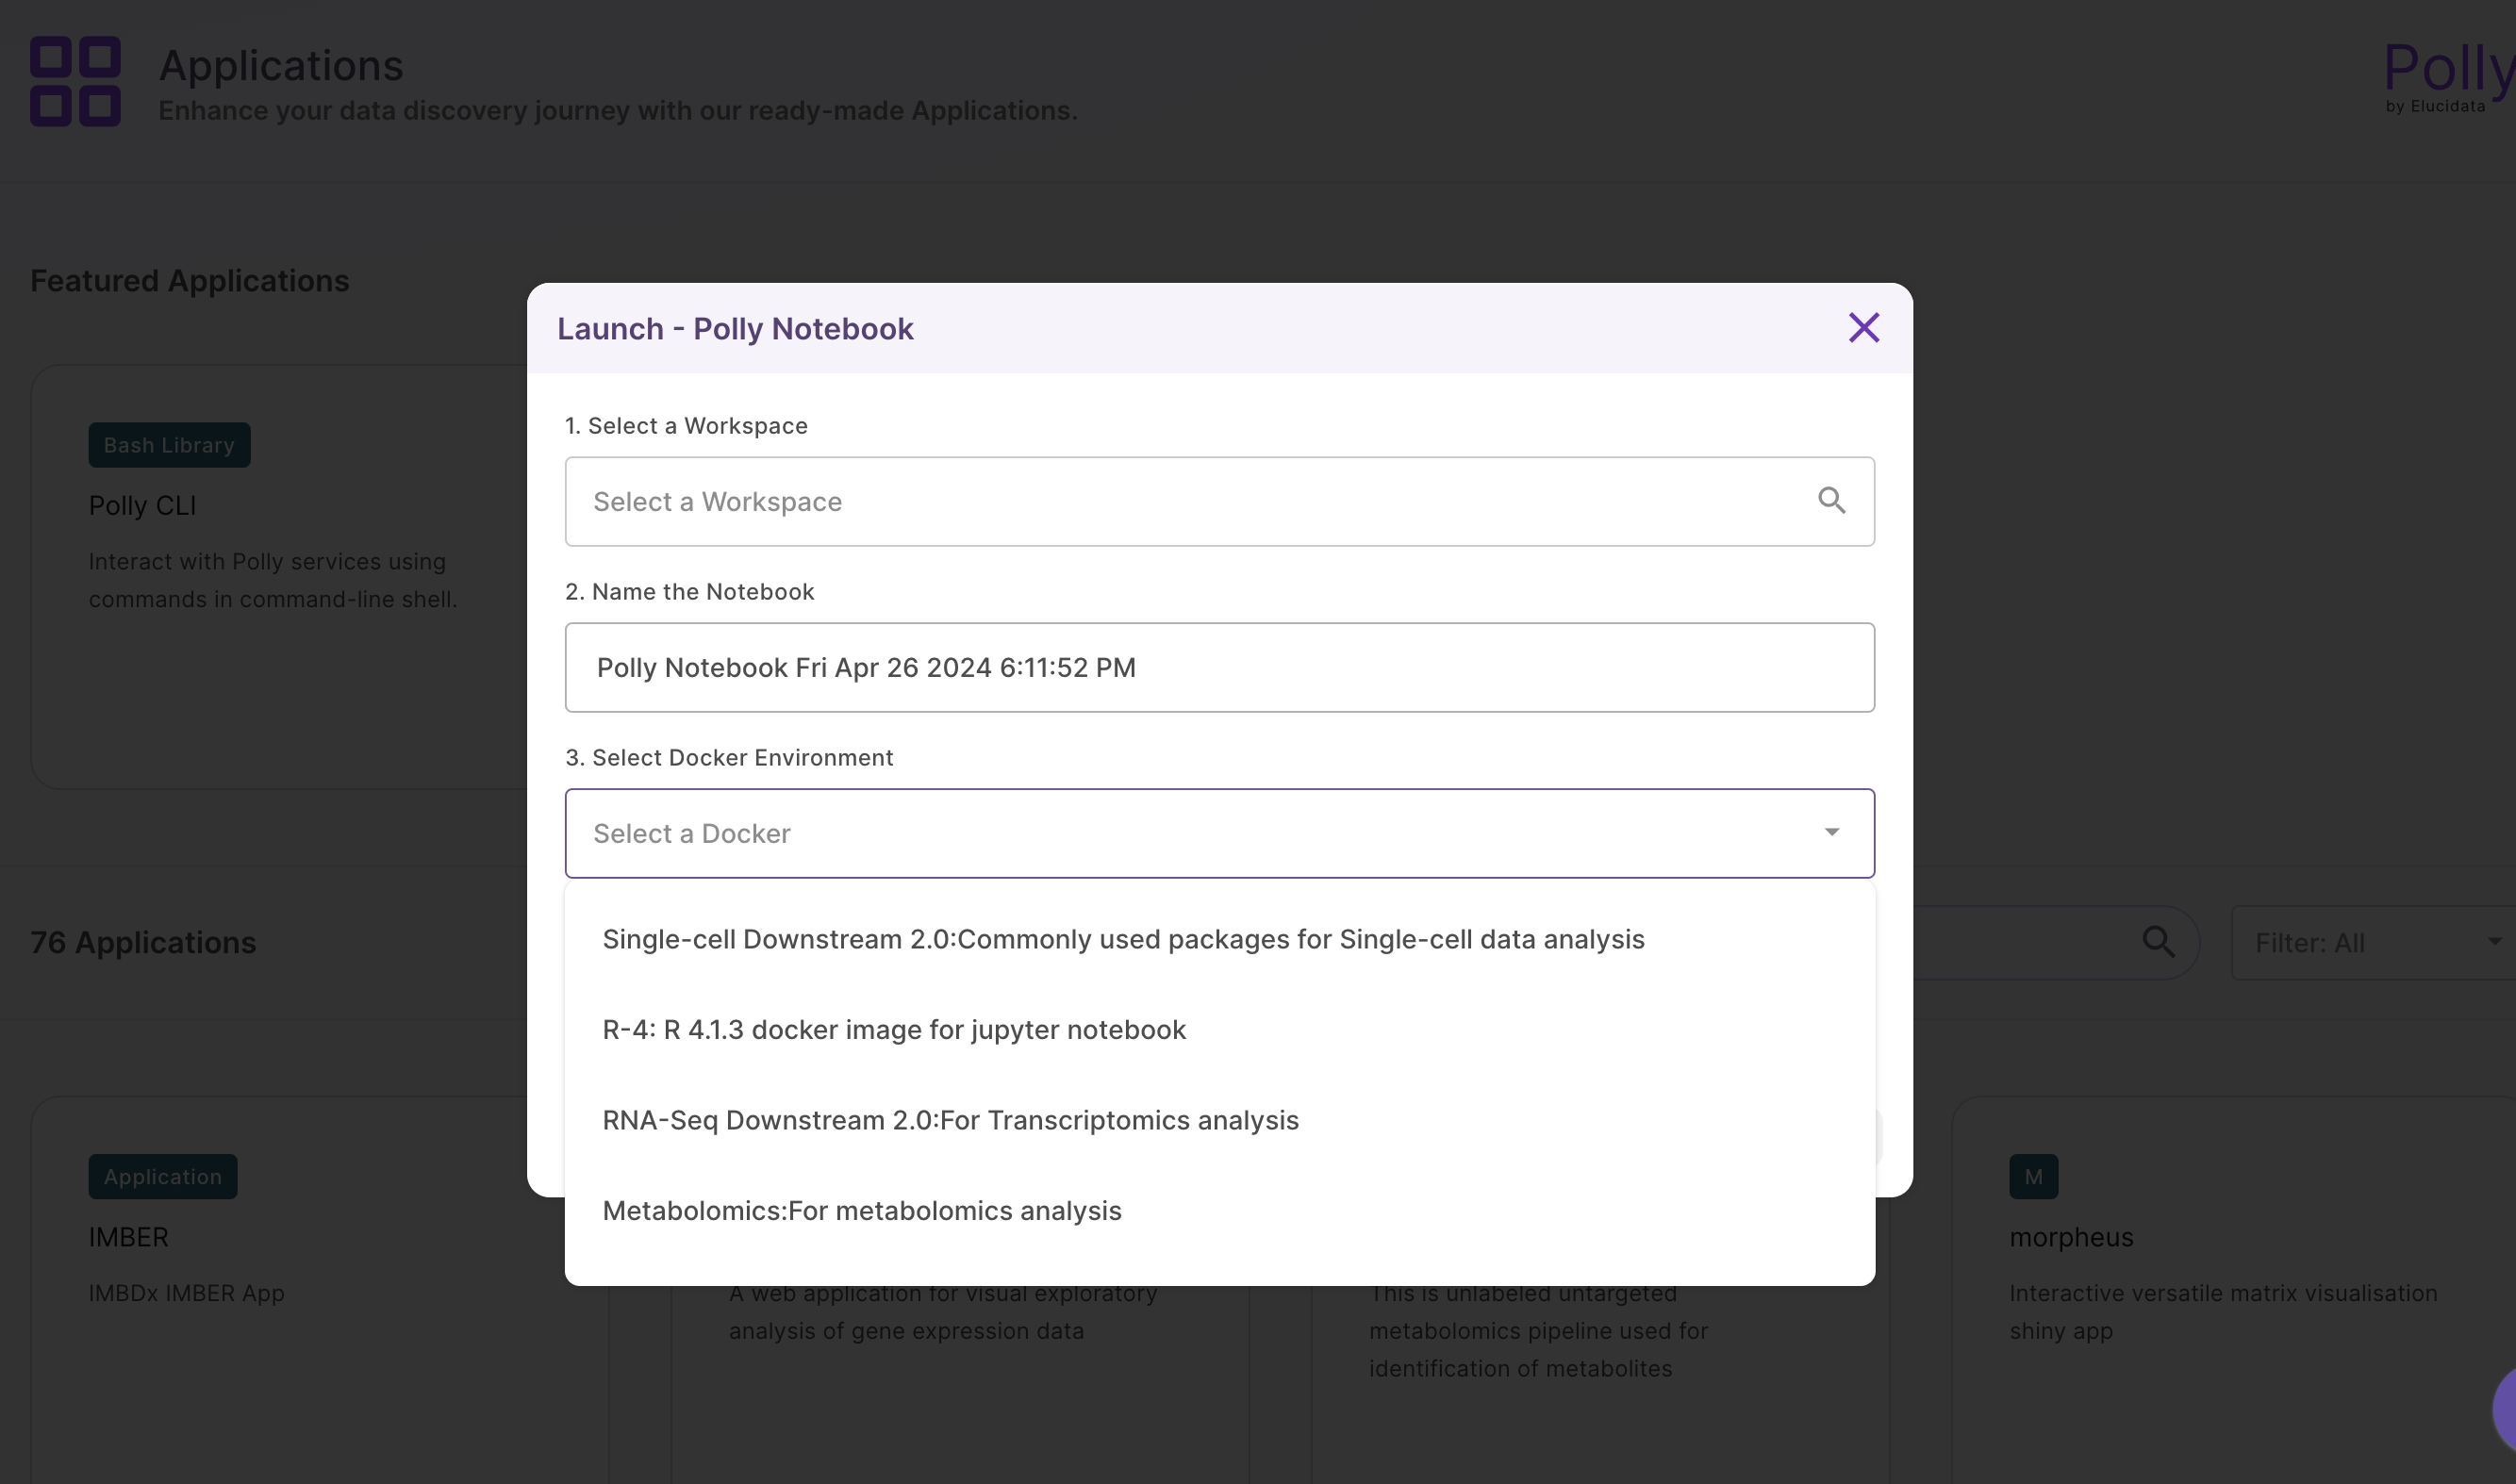
Select the Polly Notebook you want to launch. You can look at the notebook details on the right panel. If you are running the notebook for the first time, the option Edit and Launch would appear as a default selection to launch the selected notebook. You are required to select an environment and a machine to run the given notebook, once these selections are done you can launch the notebook.
Select the desired Docker Environment from the drop-down menu.
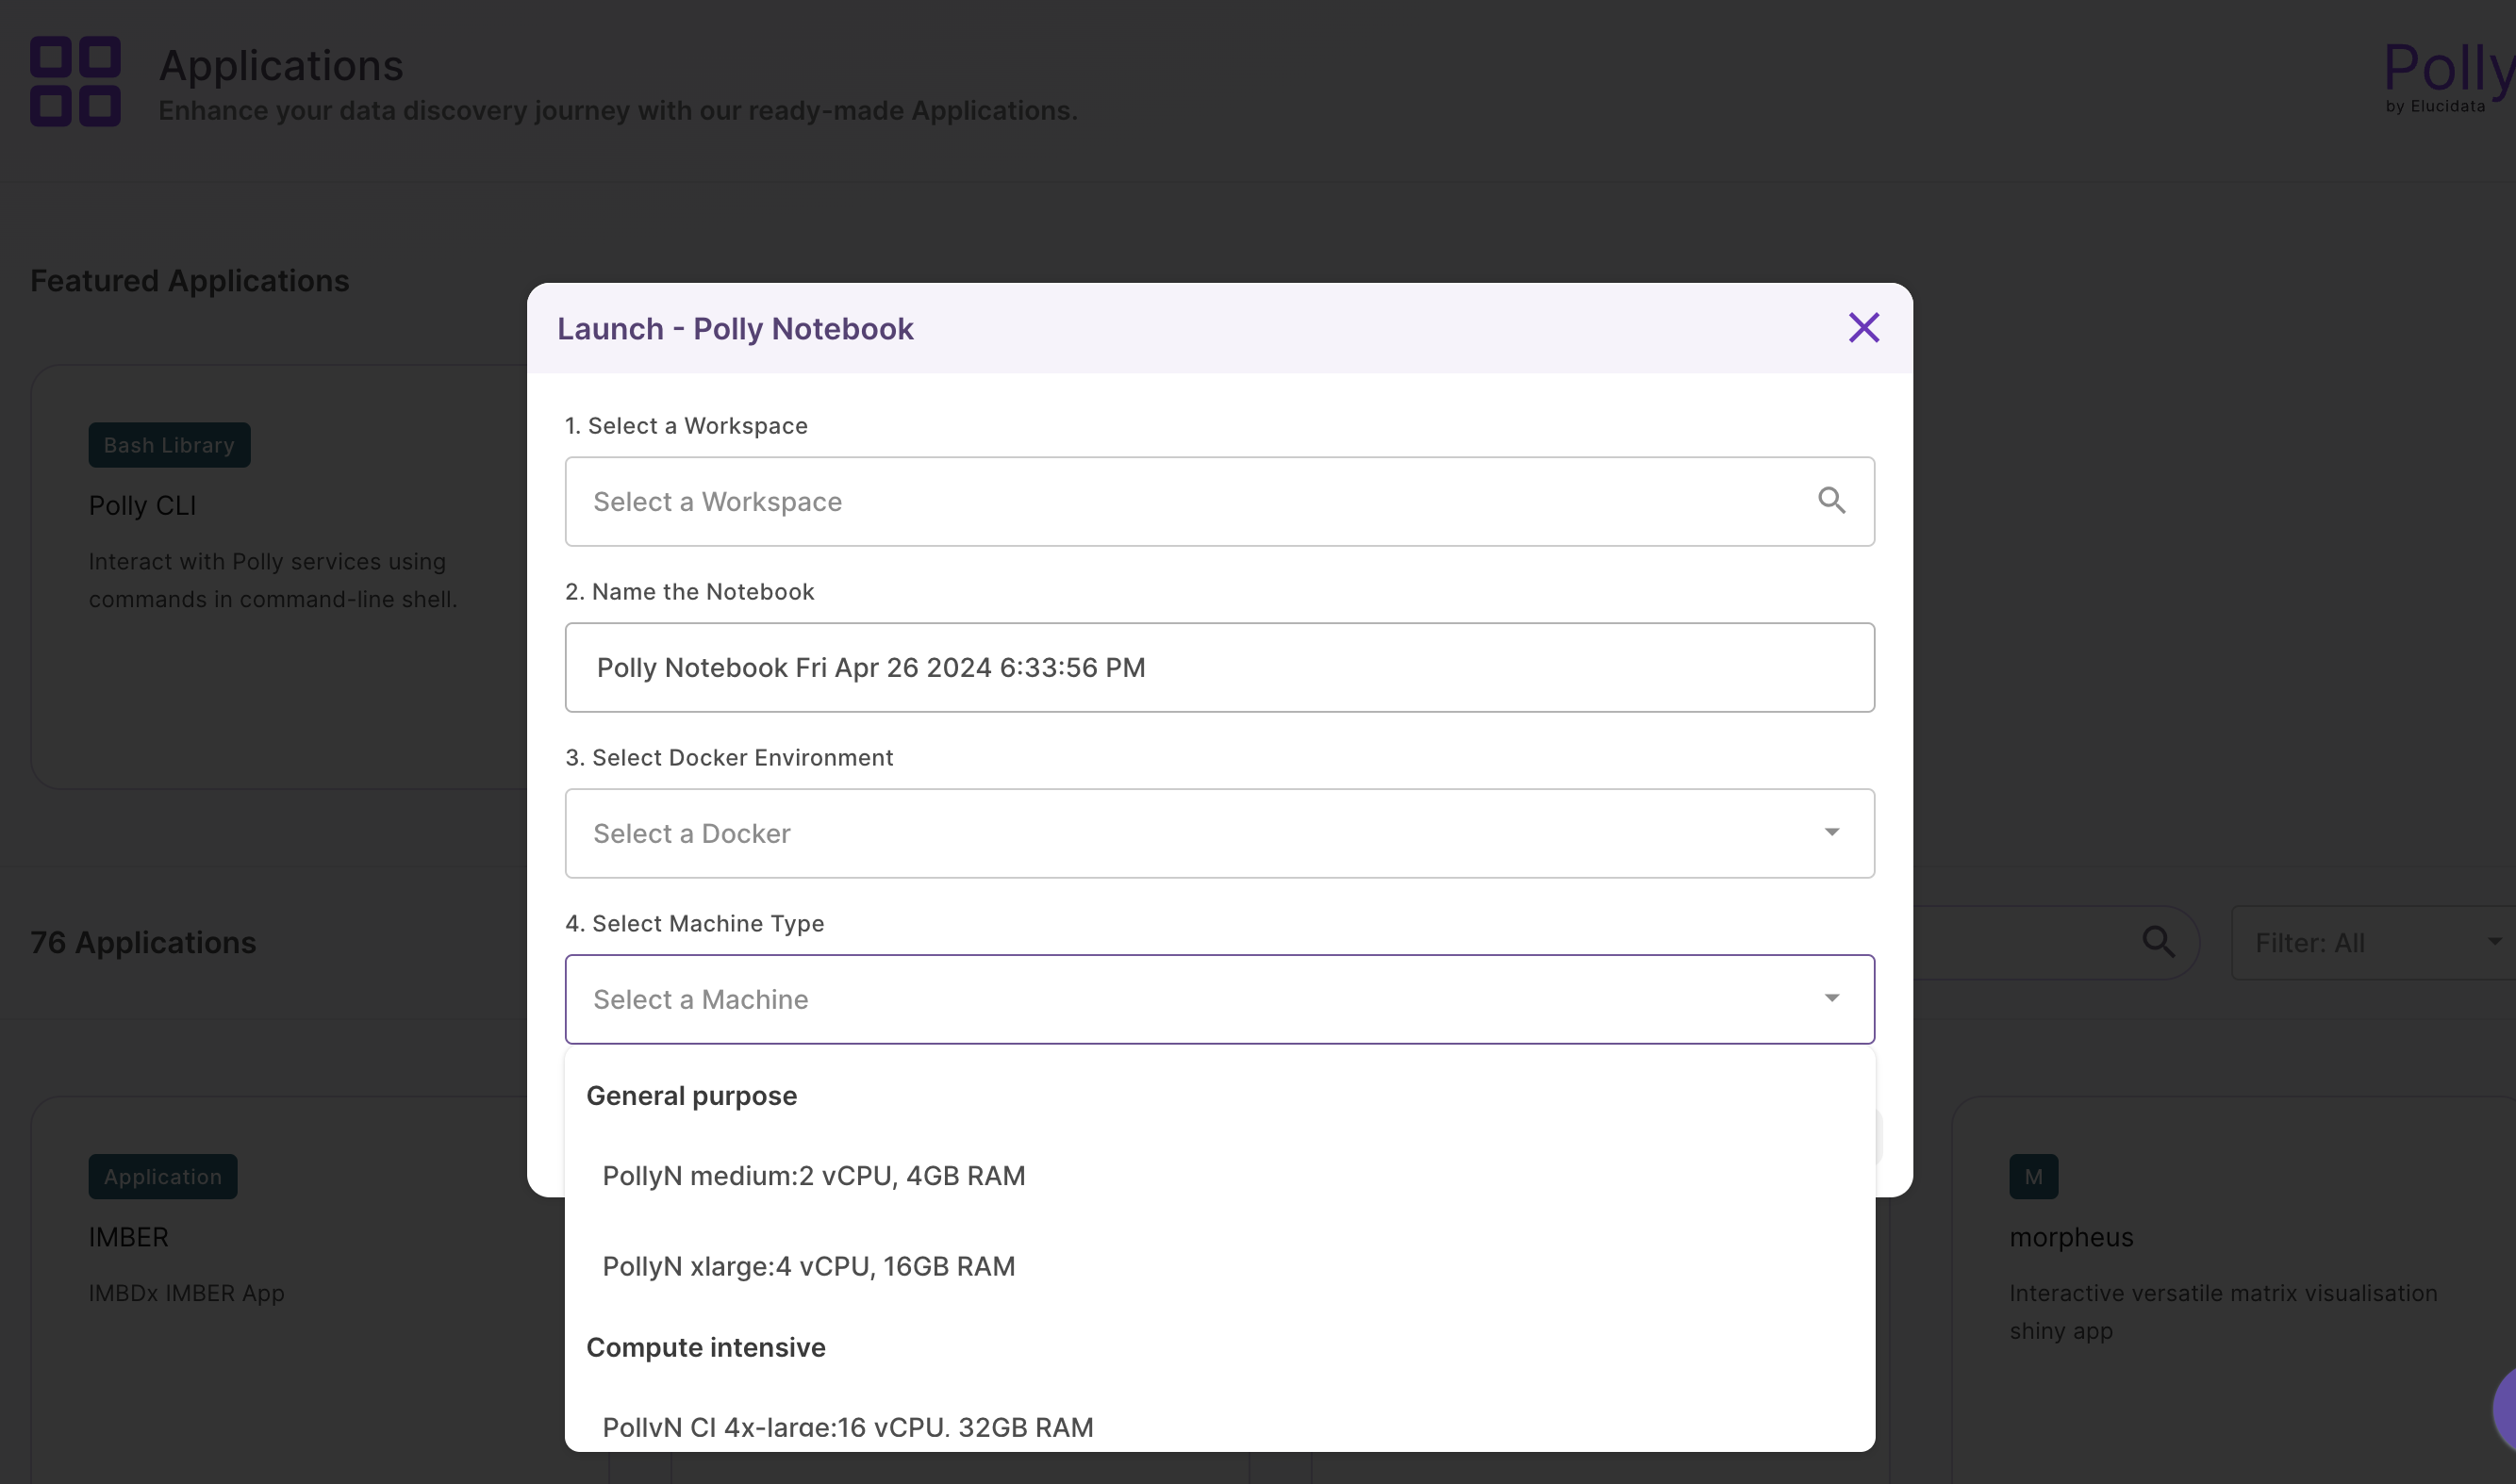
as well as the Machine Type required to run the job. Once the selections are done, click on Launch.
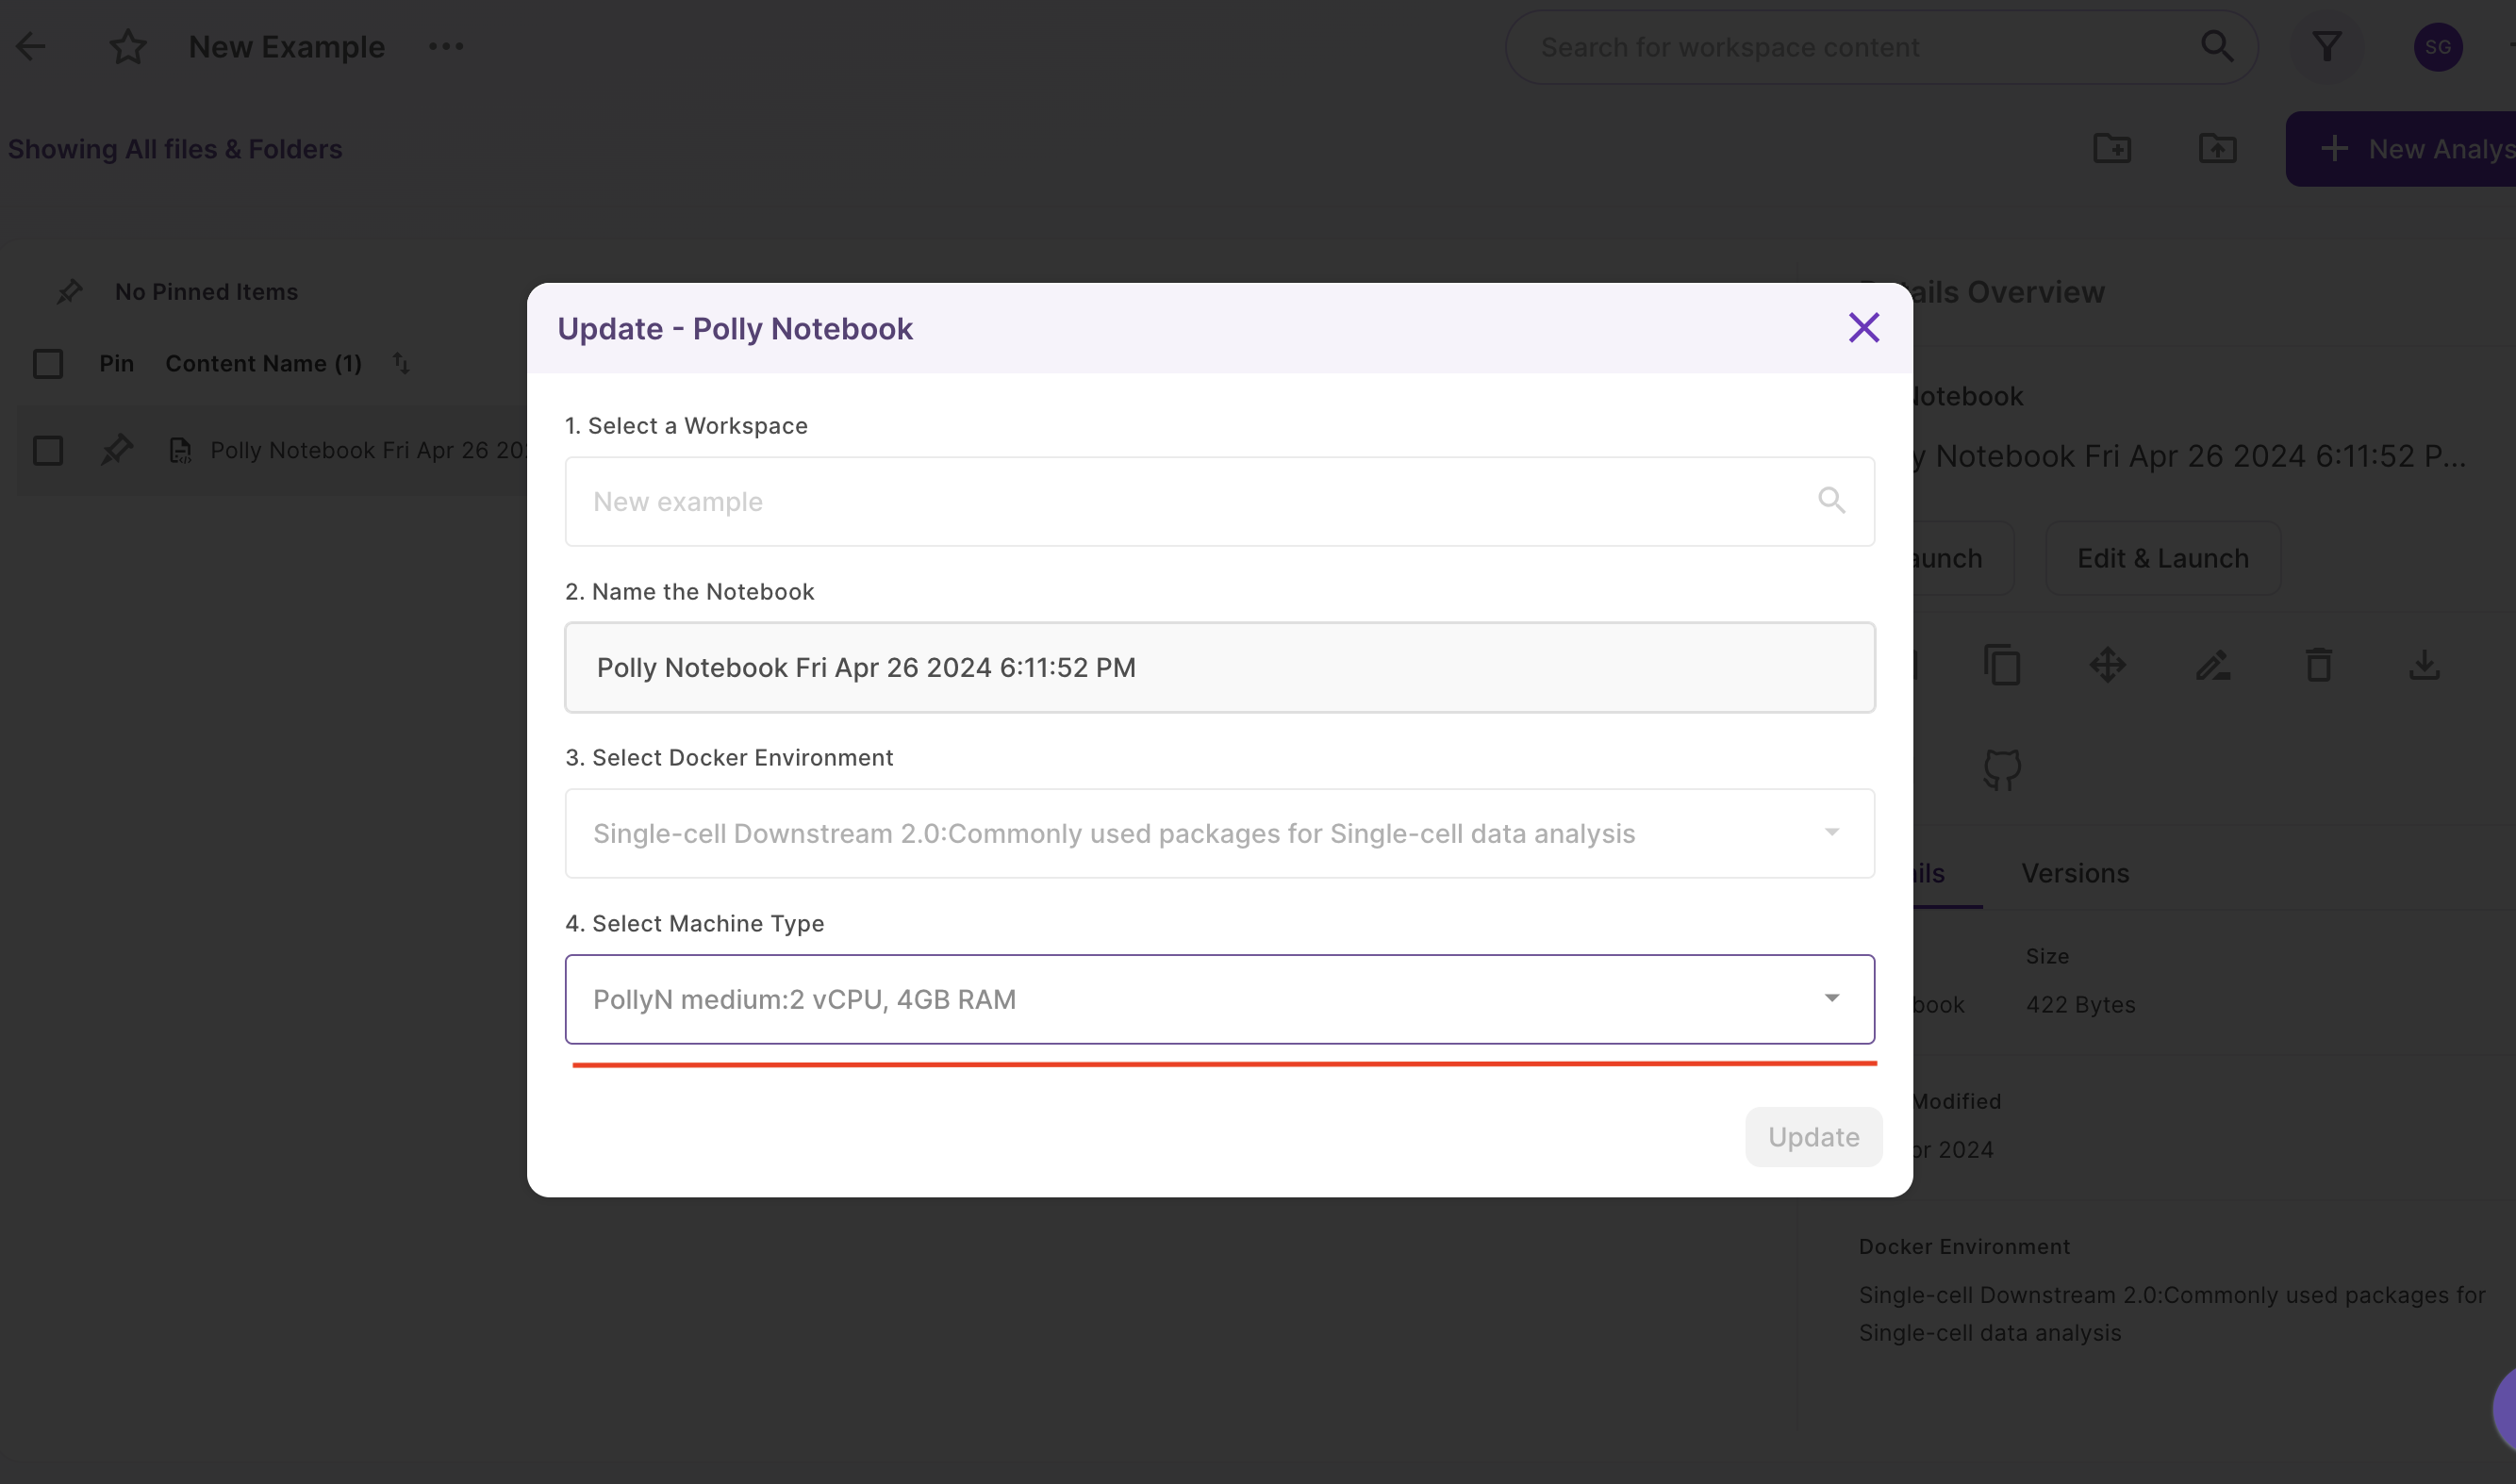
For an older notebook: You have two options, you can either launch the notebook directly by the Launch button or you can choose to edit it first before launching through the Edit and Launch button.
Note:
- Under the edit option, you can only change the machine type. The docker environment would remain the same as the one selected when you run the notebook for the first time.
Starting a New Analysis
Click on the New Analysis option provided at the top of the right panel. You will be redirected to the Application interface where you can select an application to launch.
